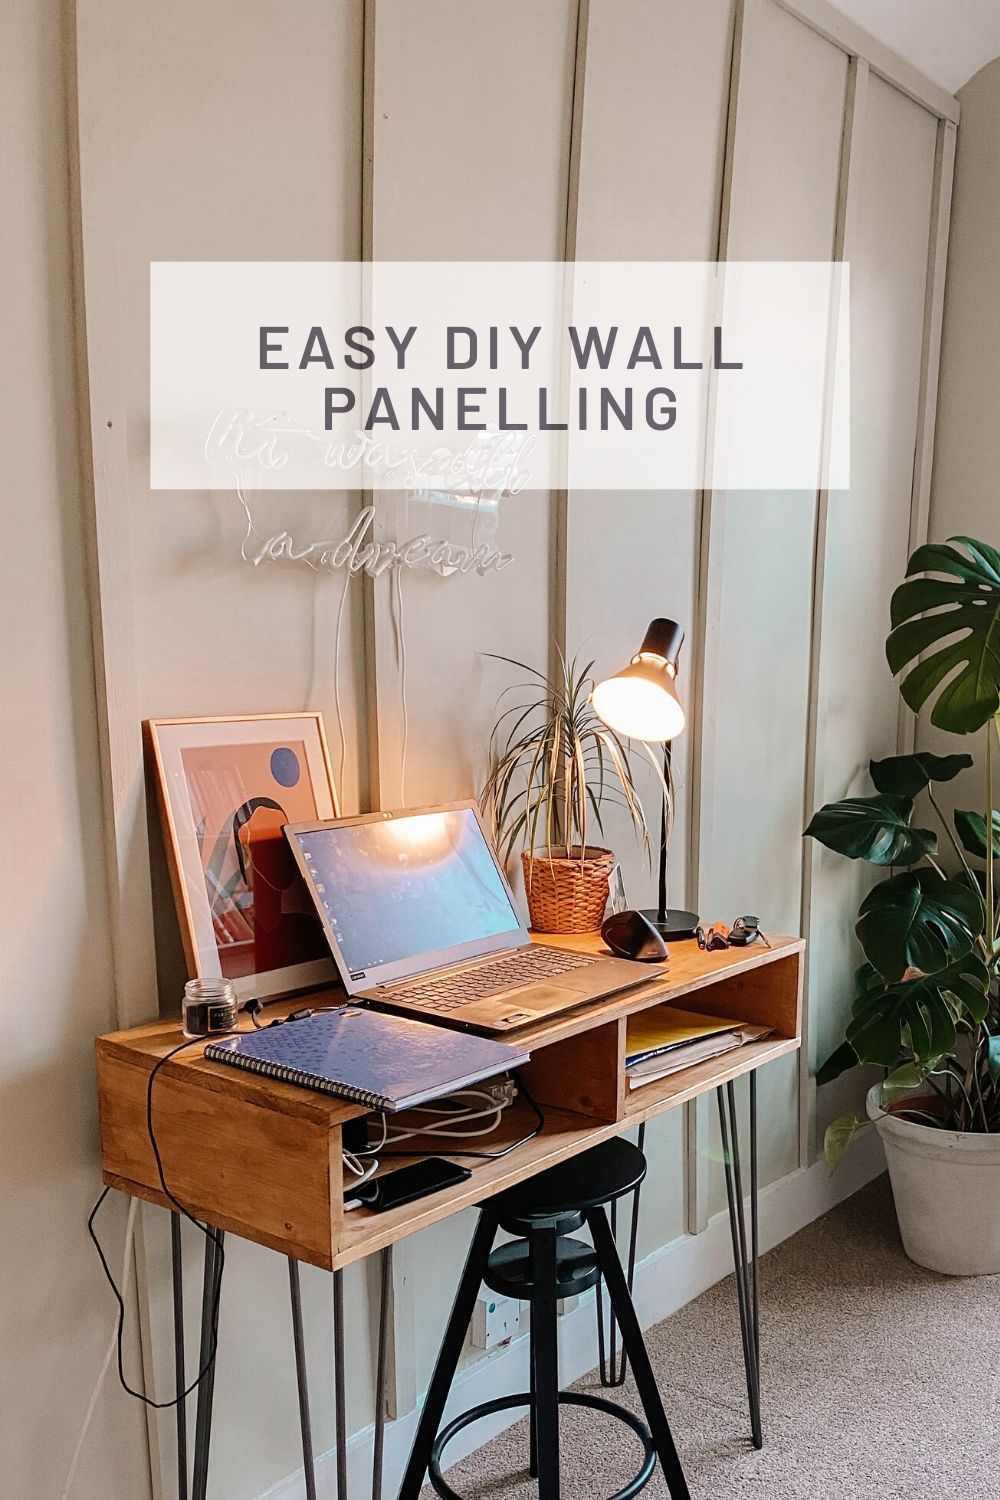
Wall panelling is one of those DIY hacks that is quite minimal effort for maximum results.

It’s also easier than you may think. Quite simply if I can panel a wall then pretty much anyone can panel a wall. Here’s a quick tutorial for simple wall panelling on a budget that will take no longer than a weekend to do.
All items are linked below.
(Wickes currently offer a click and collect service for the wooden panels. All other items are linked on Amazon for delivery.)
You’ll Need:

- Wood Panels
- Saw
- Spirit Level
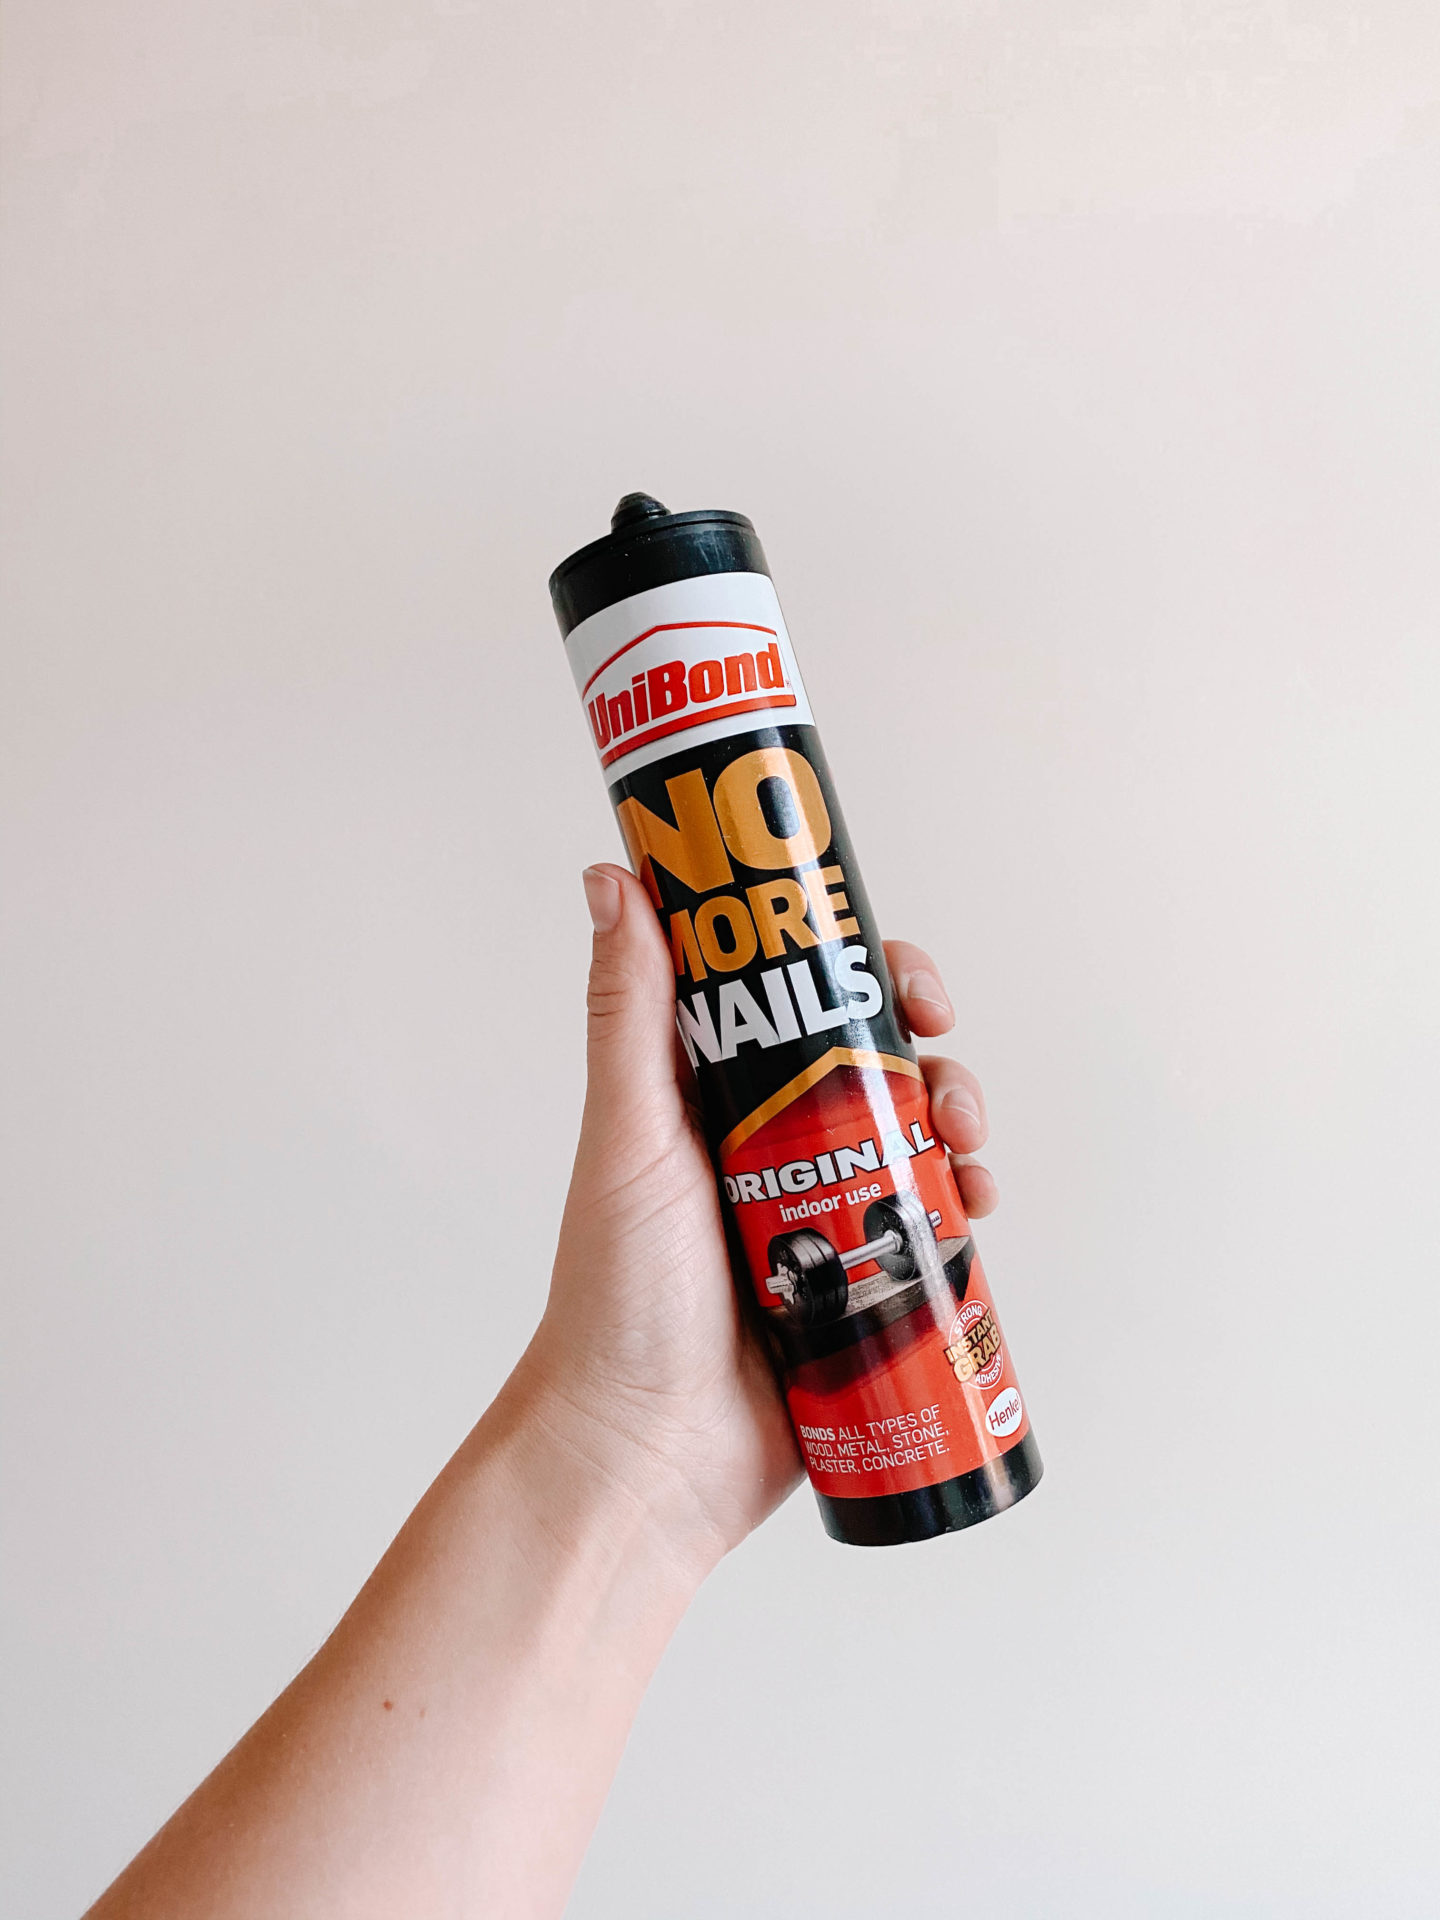
- No nails glue
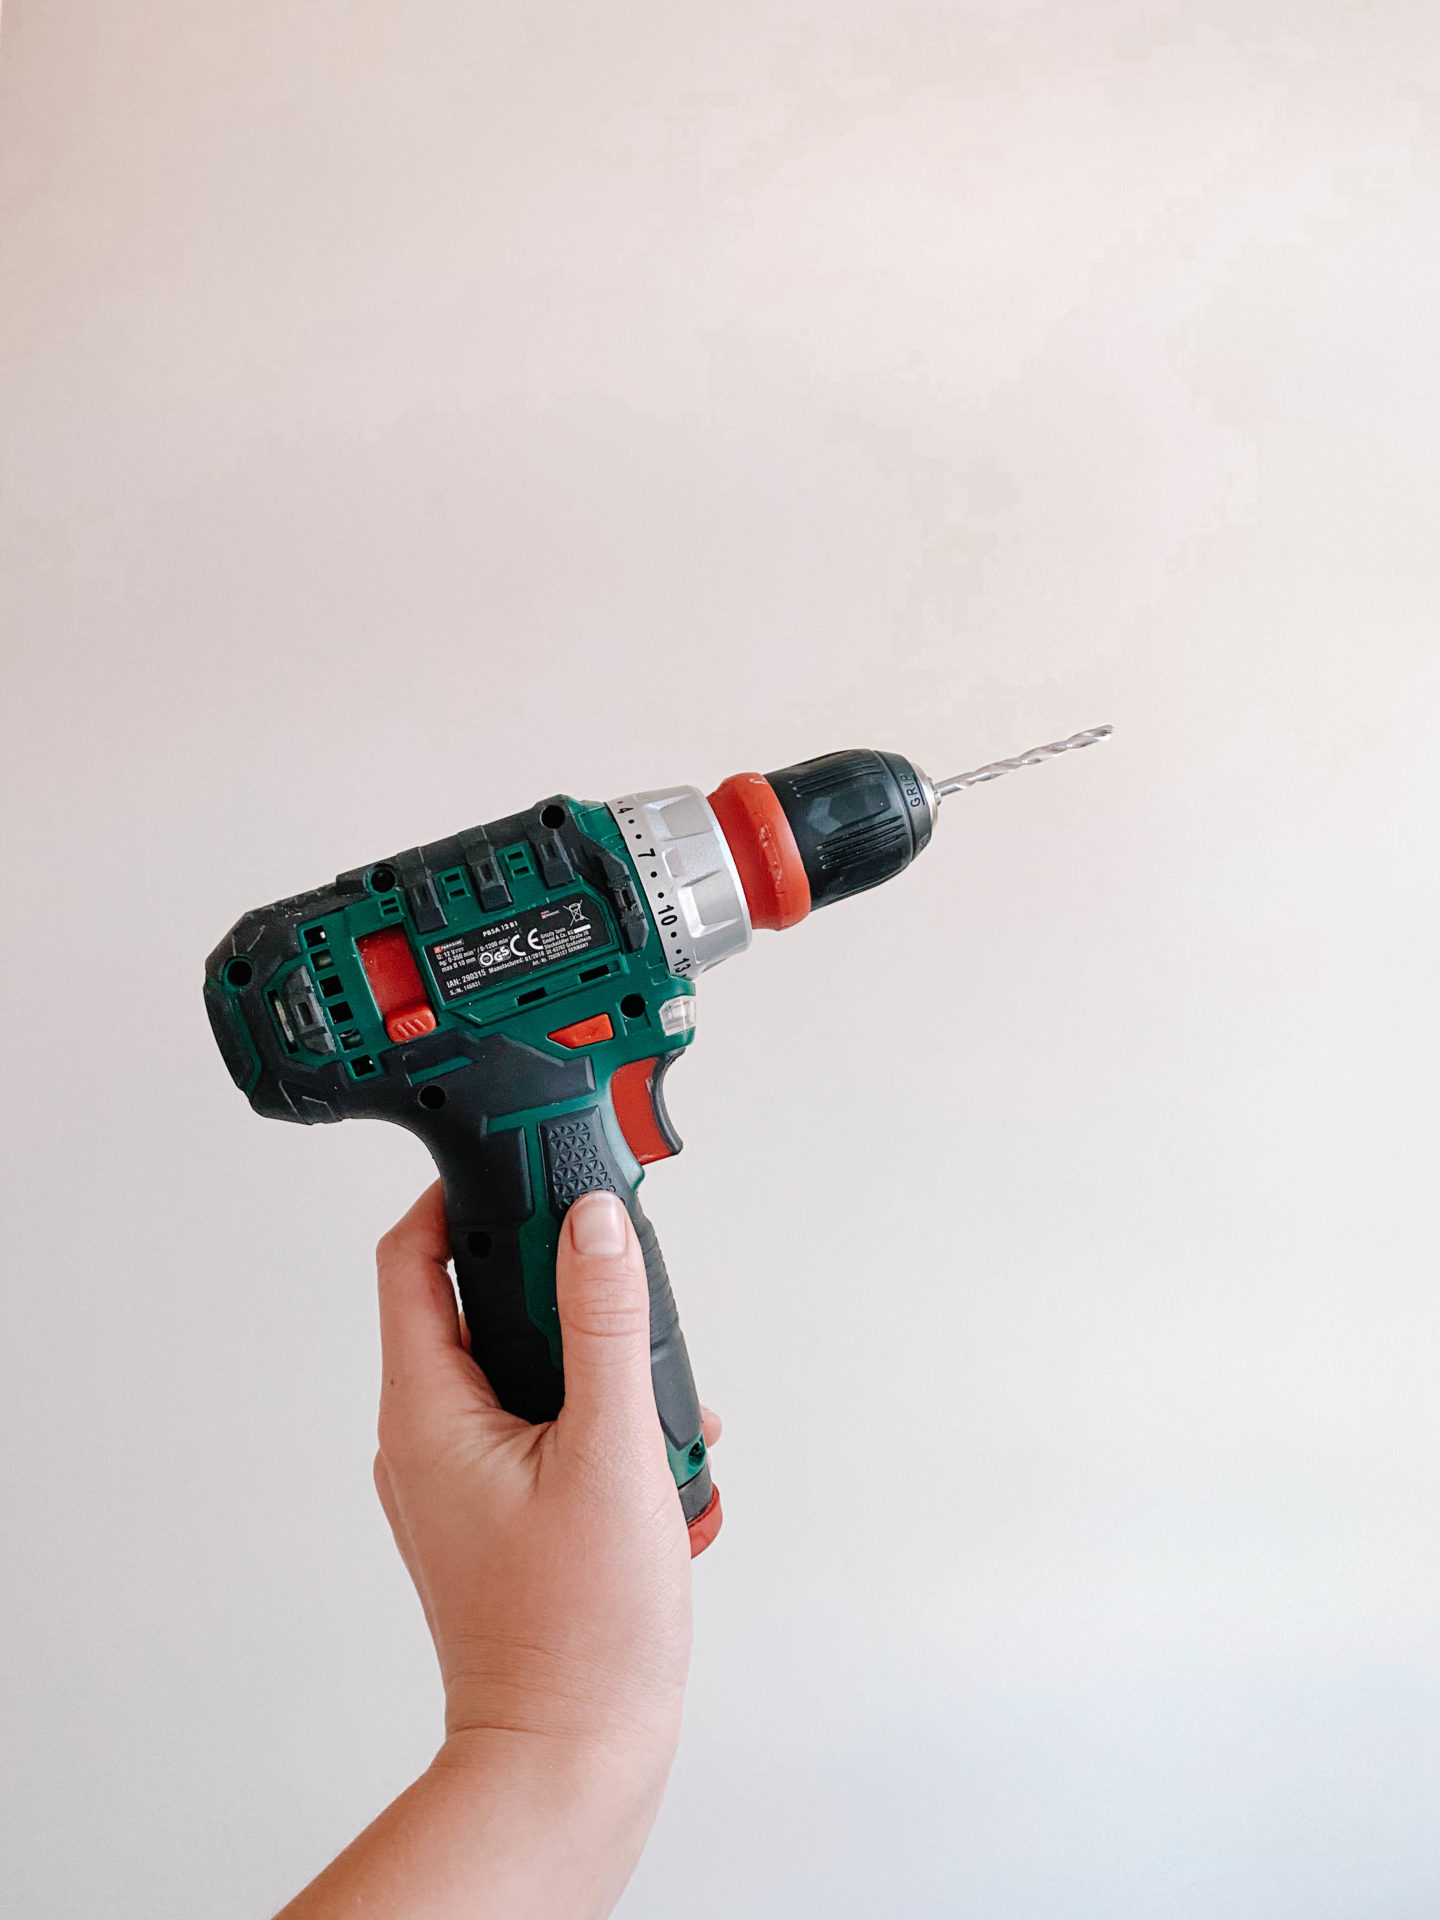
- Drill
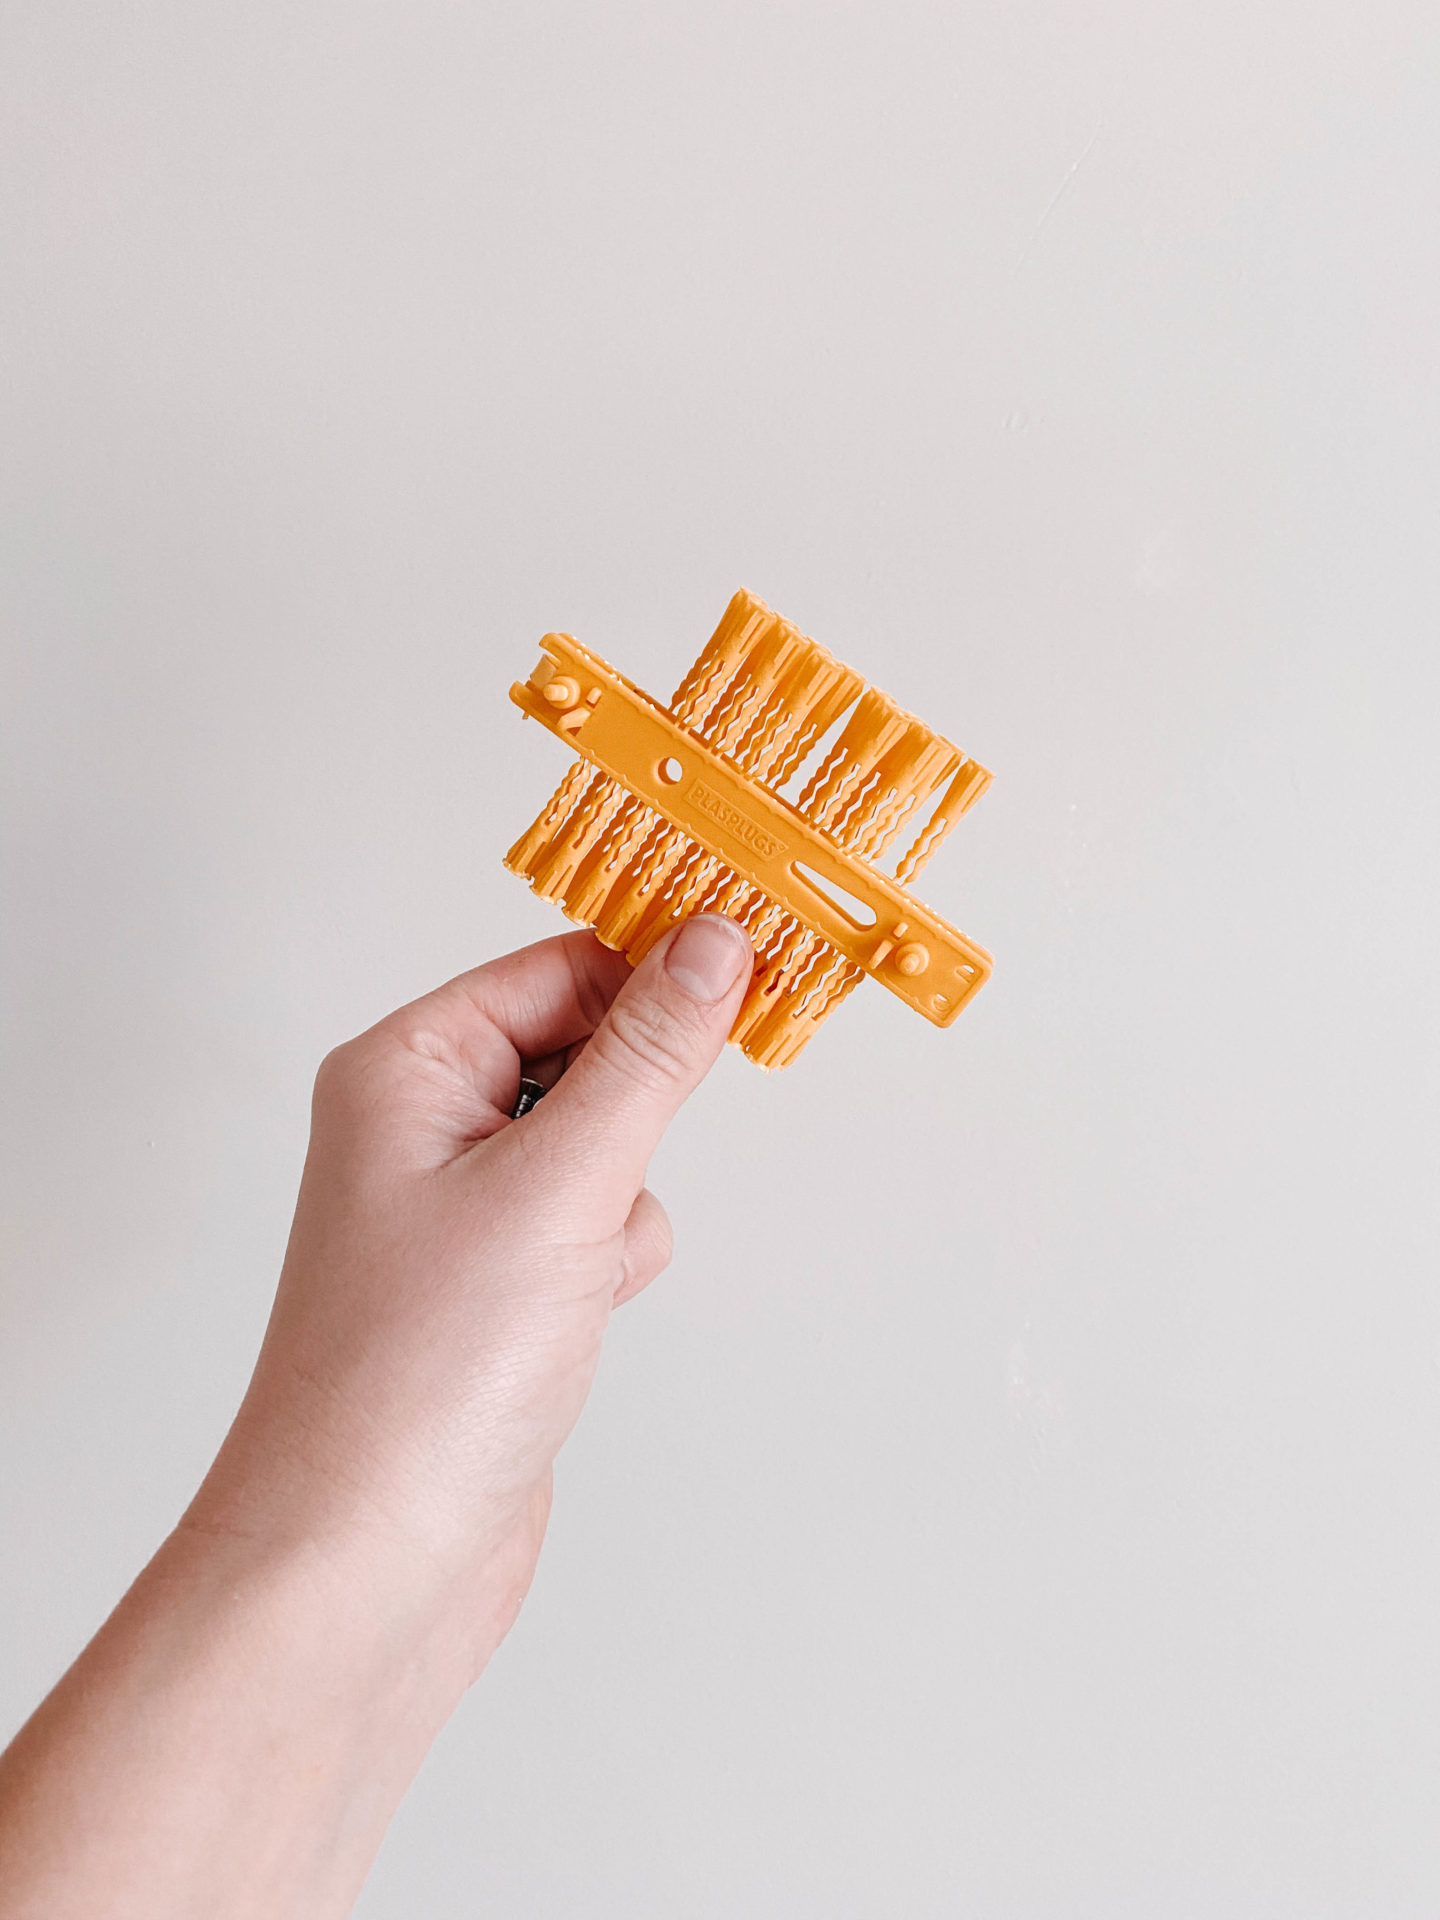
- RawlPlugs
- Screws (or any screws 3.5-5.5mm for the 6mm rawlplugs)
- Wood Primer
- Paint: Ancient Relic by Valspar UK @VALSPARPAINTUK
TOP TIPS:
- Order the wood panels the width you want your panelling to be. DIY stores sell many different widths of timber. This saves a huge amount of time having to cut the wood to size. It’s likely you’ll still need to cut the height of wood to your exact ceiling height but this is very straightforward. You can buy sheets of MDF and have it cut to size in store, however given the current climate with most stores being closed ordering the panels to size is the easiest option.
- If you want a baton horizontally placed at either the top of bottom of the panelling then don’t forget to factor these into your timber order.
- This is an easy task but make sure you have all supplies prepped and measurements done before starting.
- Make sure walls are completely flat. If the walls aren’t straight you will have to drill / screw the panels to the wall after glueing.
- Draw out your plan to visualise how many panels you’d like on your wall. Nothing is final until it’s stuck on the wall. Three drawings and three arguments later we went from 10 to 8 to eventually settling on 9 panels for our space.

QUICK DIY IGTV OF WALL PANELLING:
METHOD:
STEP 1: MEASUREMENTS
This is the most crucial part of the project. You have to get this part right and once you do everything else falls into place quite easily. Measuring correctly and doing a bit of maths was the most difficult part of the job for me.
- Measure the width of you wall.
- Decide how many panels of wood you want (we went for 9 with panel 1 and panel 9 placed snugly at each end of the wall)
- Take the width of one panel and multiply by the amount of panels you have (ours was 47mm x 9 panels = 423mm of width of panels)
- Subtract this total from the width of the wall. (Width of our wall 3500mm minus 423mm equals 3077mm)
- Take new number (3077mm) and divide it by amount of gaps between panels (8) this new number will be the distance between each panel placed on your wall. Top tip: saw a baton the width of this number (Ours was 384.6mm) then use the baton as a divider between each panel when sticking to the wall.
I profusely apologise if the above doesn’t make sense. I really hope it does because I have no other way of explaining it. What can I say, maths is not my forte.
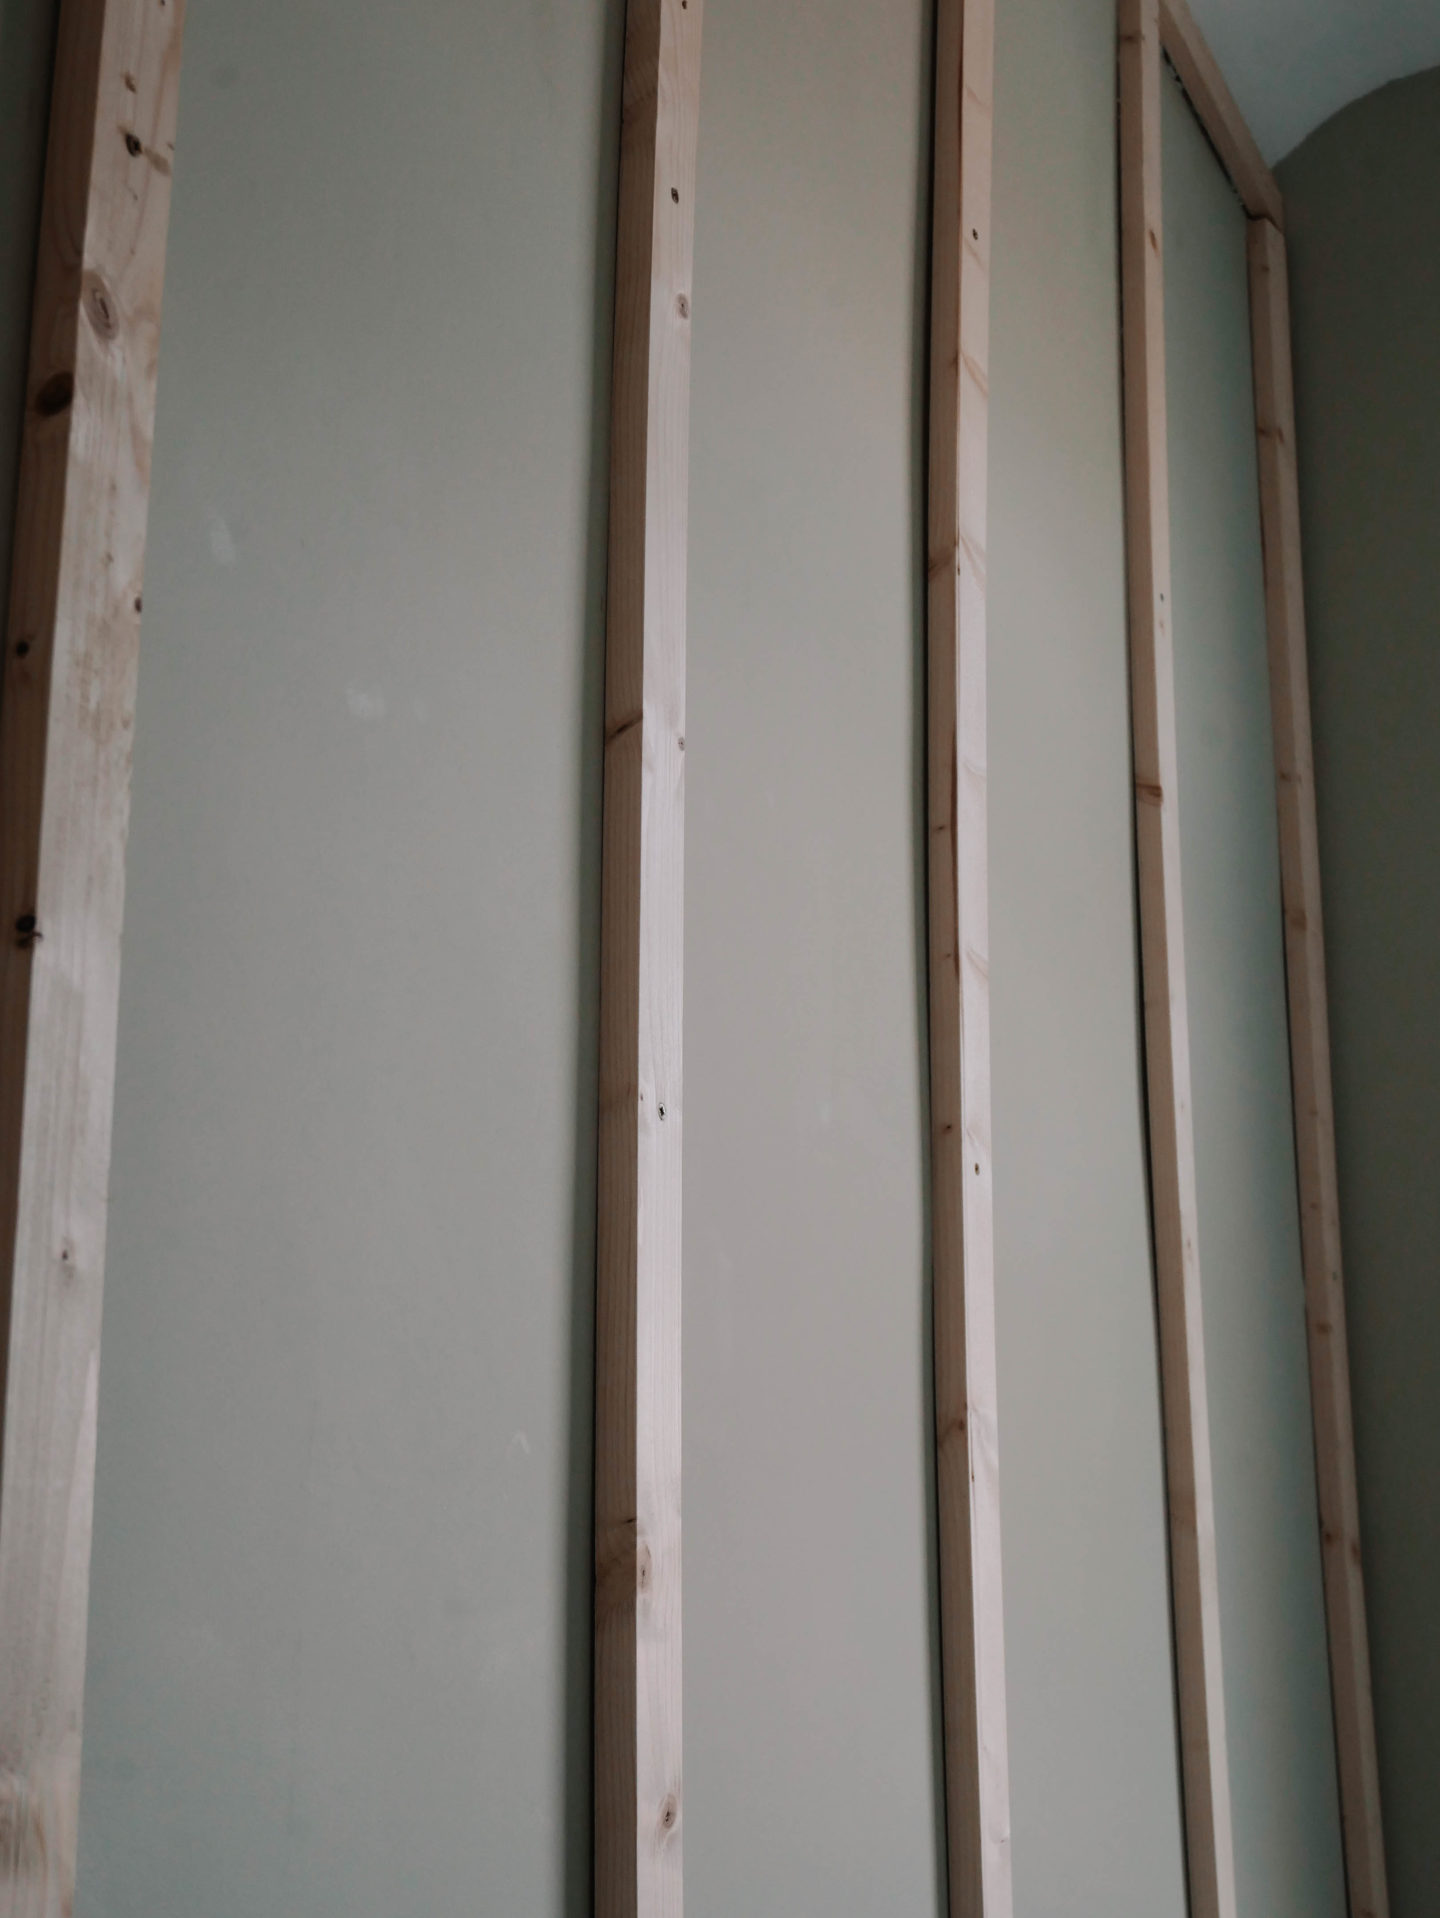
STEP 2: START STICKING
We begun by sticking the horizontal baton across the top of the wall. We needed two batons with one cut down to fit the 3.5m wall. Using just no nails glue and a patient 2 minutes holding the baton to the wall was the easiest part of this whole task.
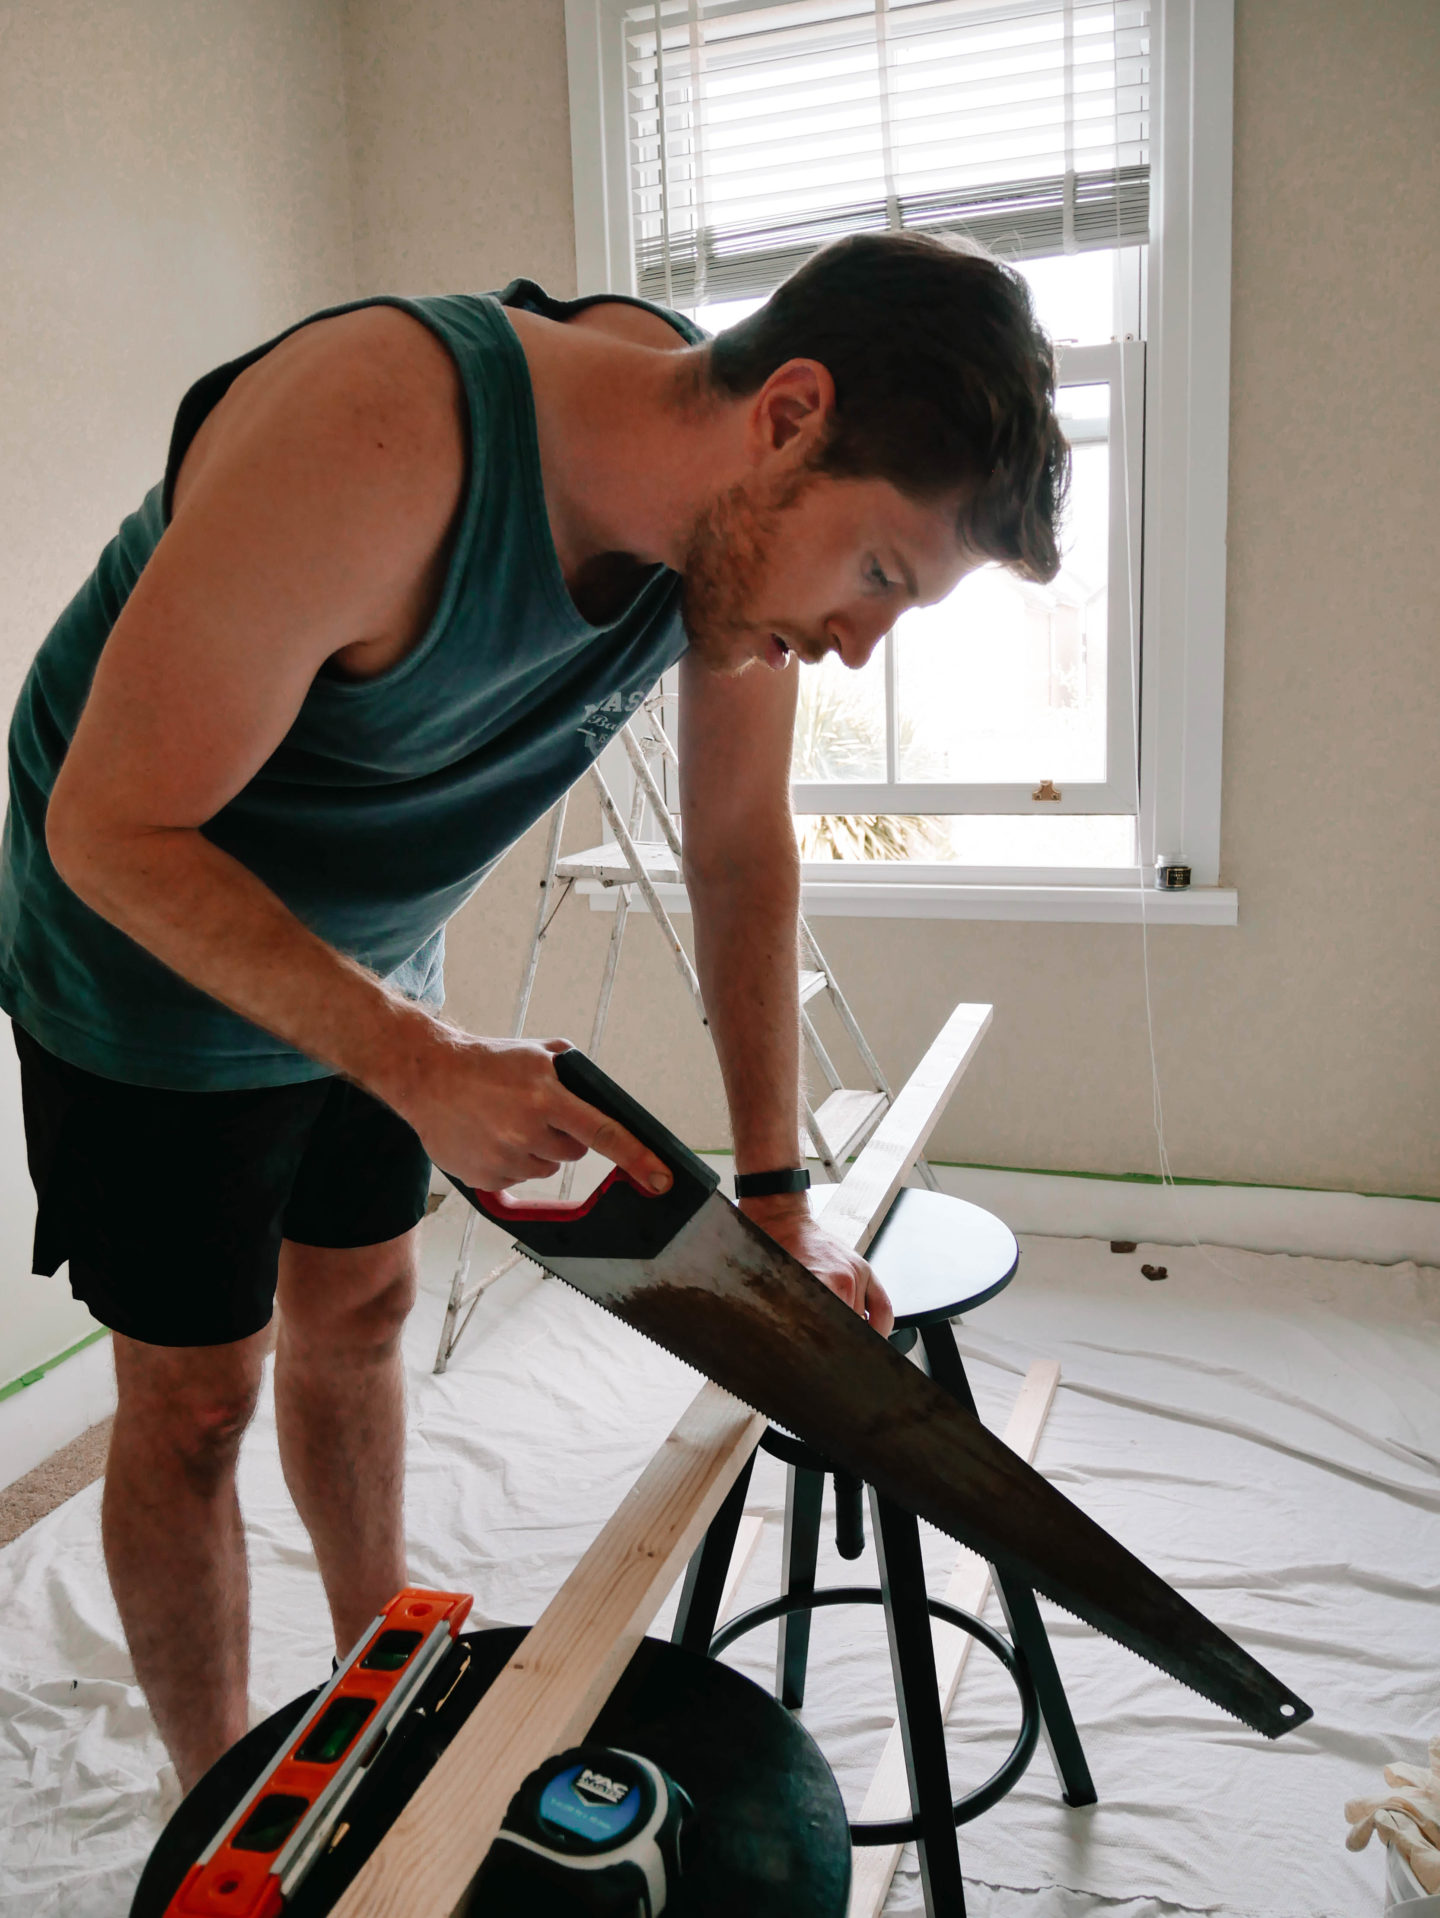
STEP 3: MEASURE VERTICAL PLANKS
After the top panel is securely in place, measure the vertical planks.
Make sure the panels fit the height. Cut to size if needed.
If the wood doesn’t sit flush to the wall at this stage the panels will need to be drilled to the wall. (Step 5)
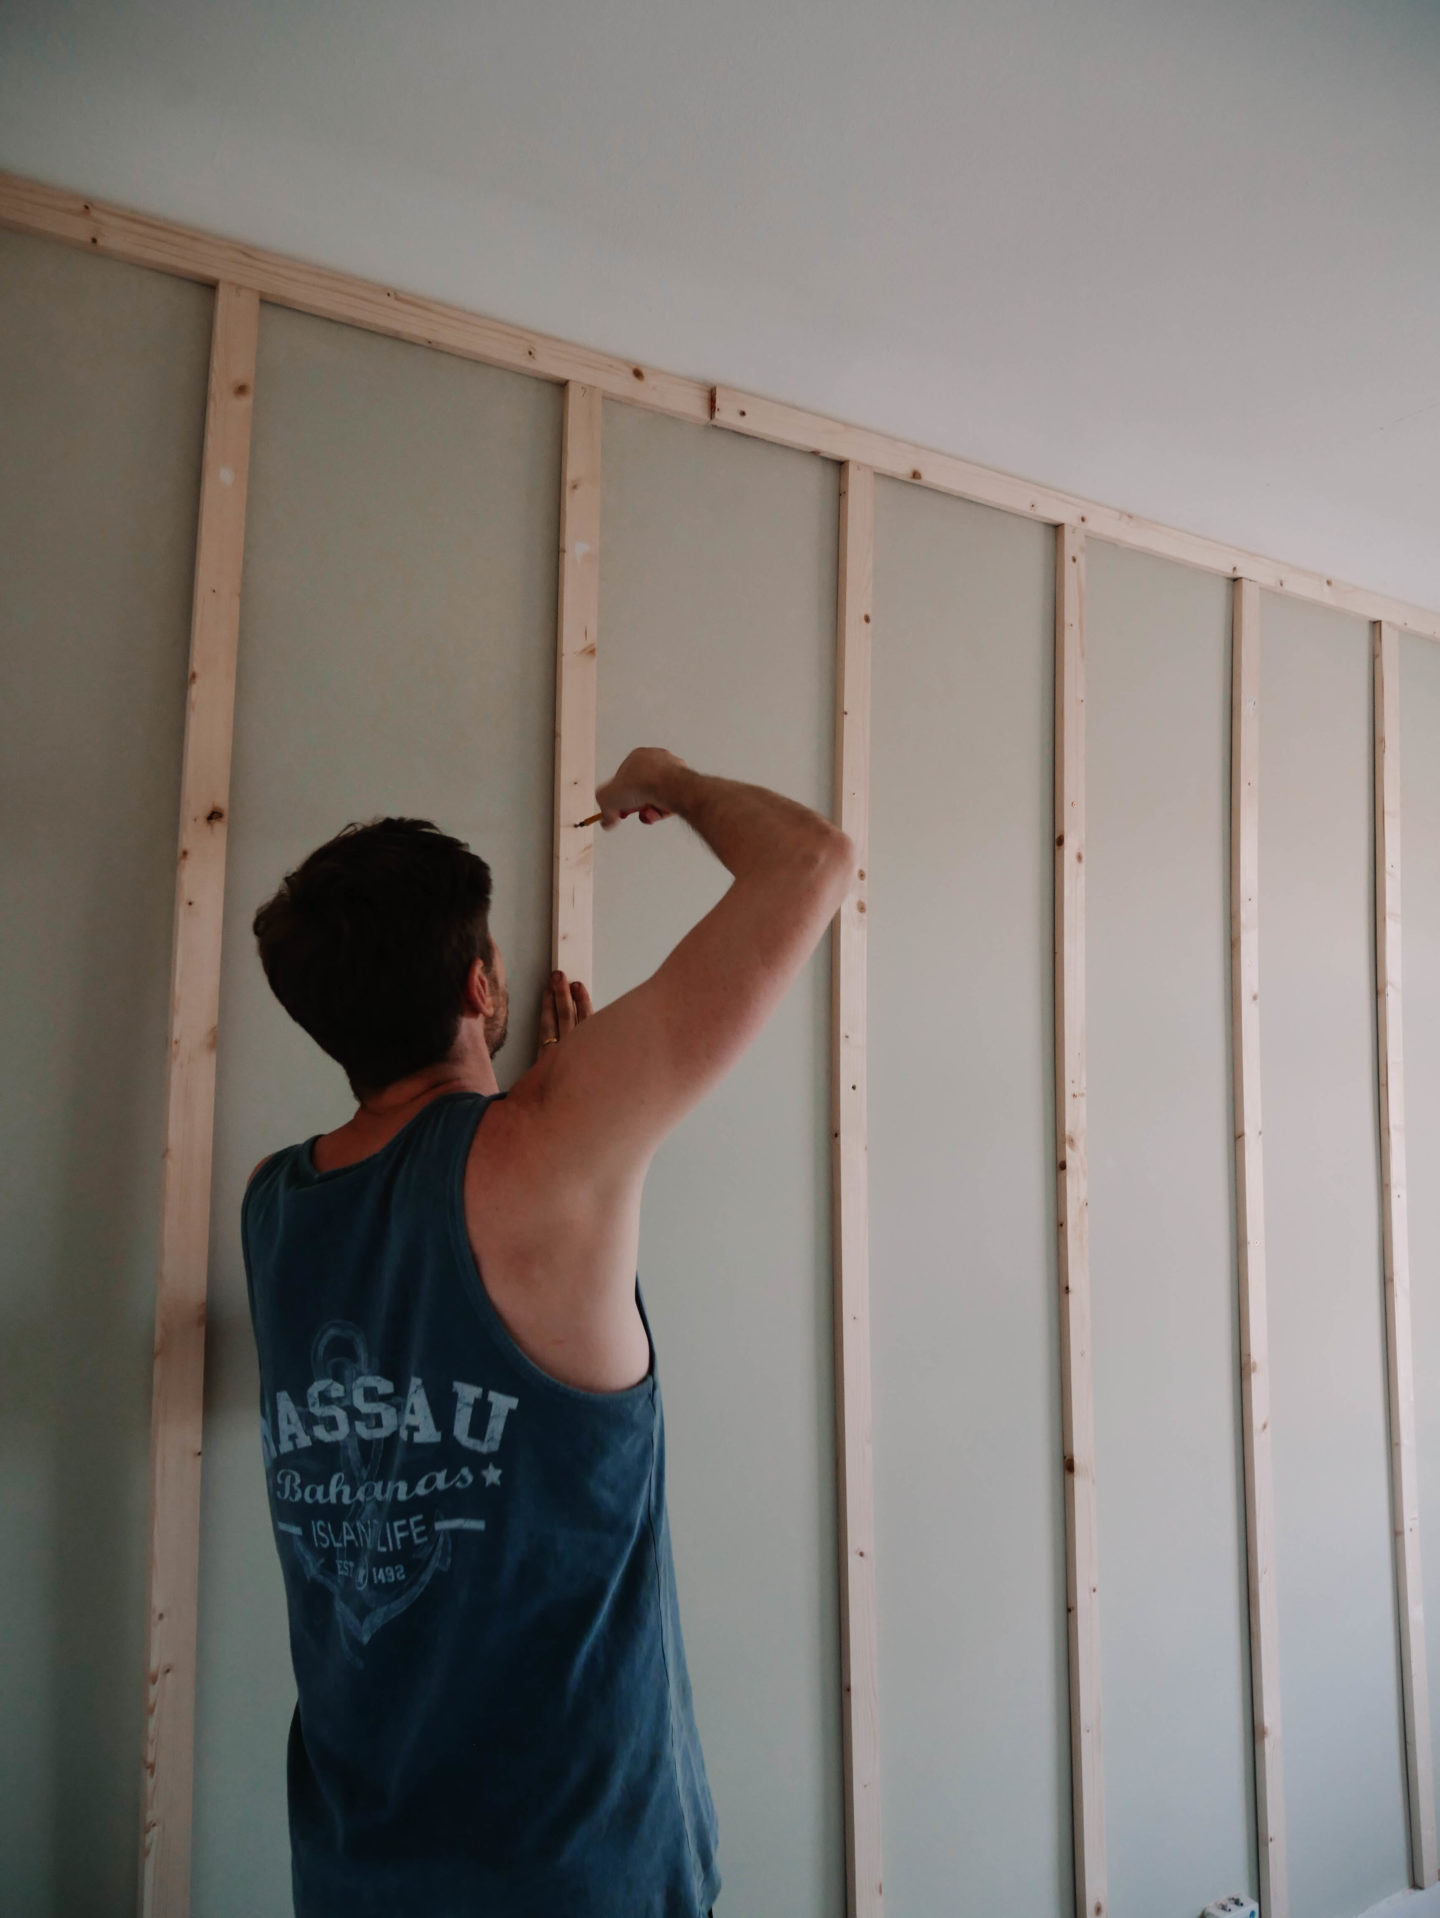
STEP 4: FINAL CHECK
Line the panels up against the wall where they will be glued and do one final check with the measurements. Mark out with pencil very lightly where they will be glued & it’s time to stick the panels on.
STEP 5: DRILLING
(skip this step if walls are straight and panels just need glueing)
Place panels against the wall and start gently drilling through the batons and into the wall. Then remove baton insert rawlplug. We made two incisions in each baton 25 % and 75% of the way up the plank.
STEP 6: START GLUEING
Apply no nails glue along the back of the panels.
Refer back to the pencil marks on the walls for precision. If you are drilling the panels to the wall as well then make sure the drilled holes line up with the rawlplugs.
As you start sticking down each panel hold it firmly against the wall for 2 minutes. Use a spirit level to ensure the planks are level and straight. If you are drilling the panels then take each screw and with a screwdriver gently wind the screw through the panel and snugly into the wall.
Measure the exact distance between each panel with the wooden ruler and line up your markings each time you move on to the next panel. Keep going until all panels are up.
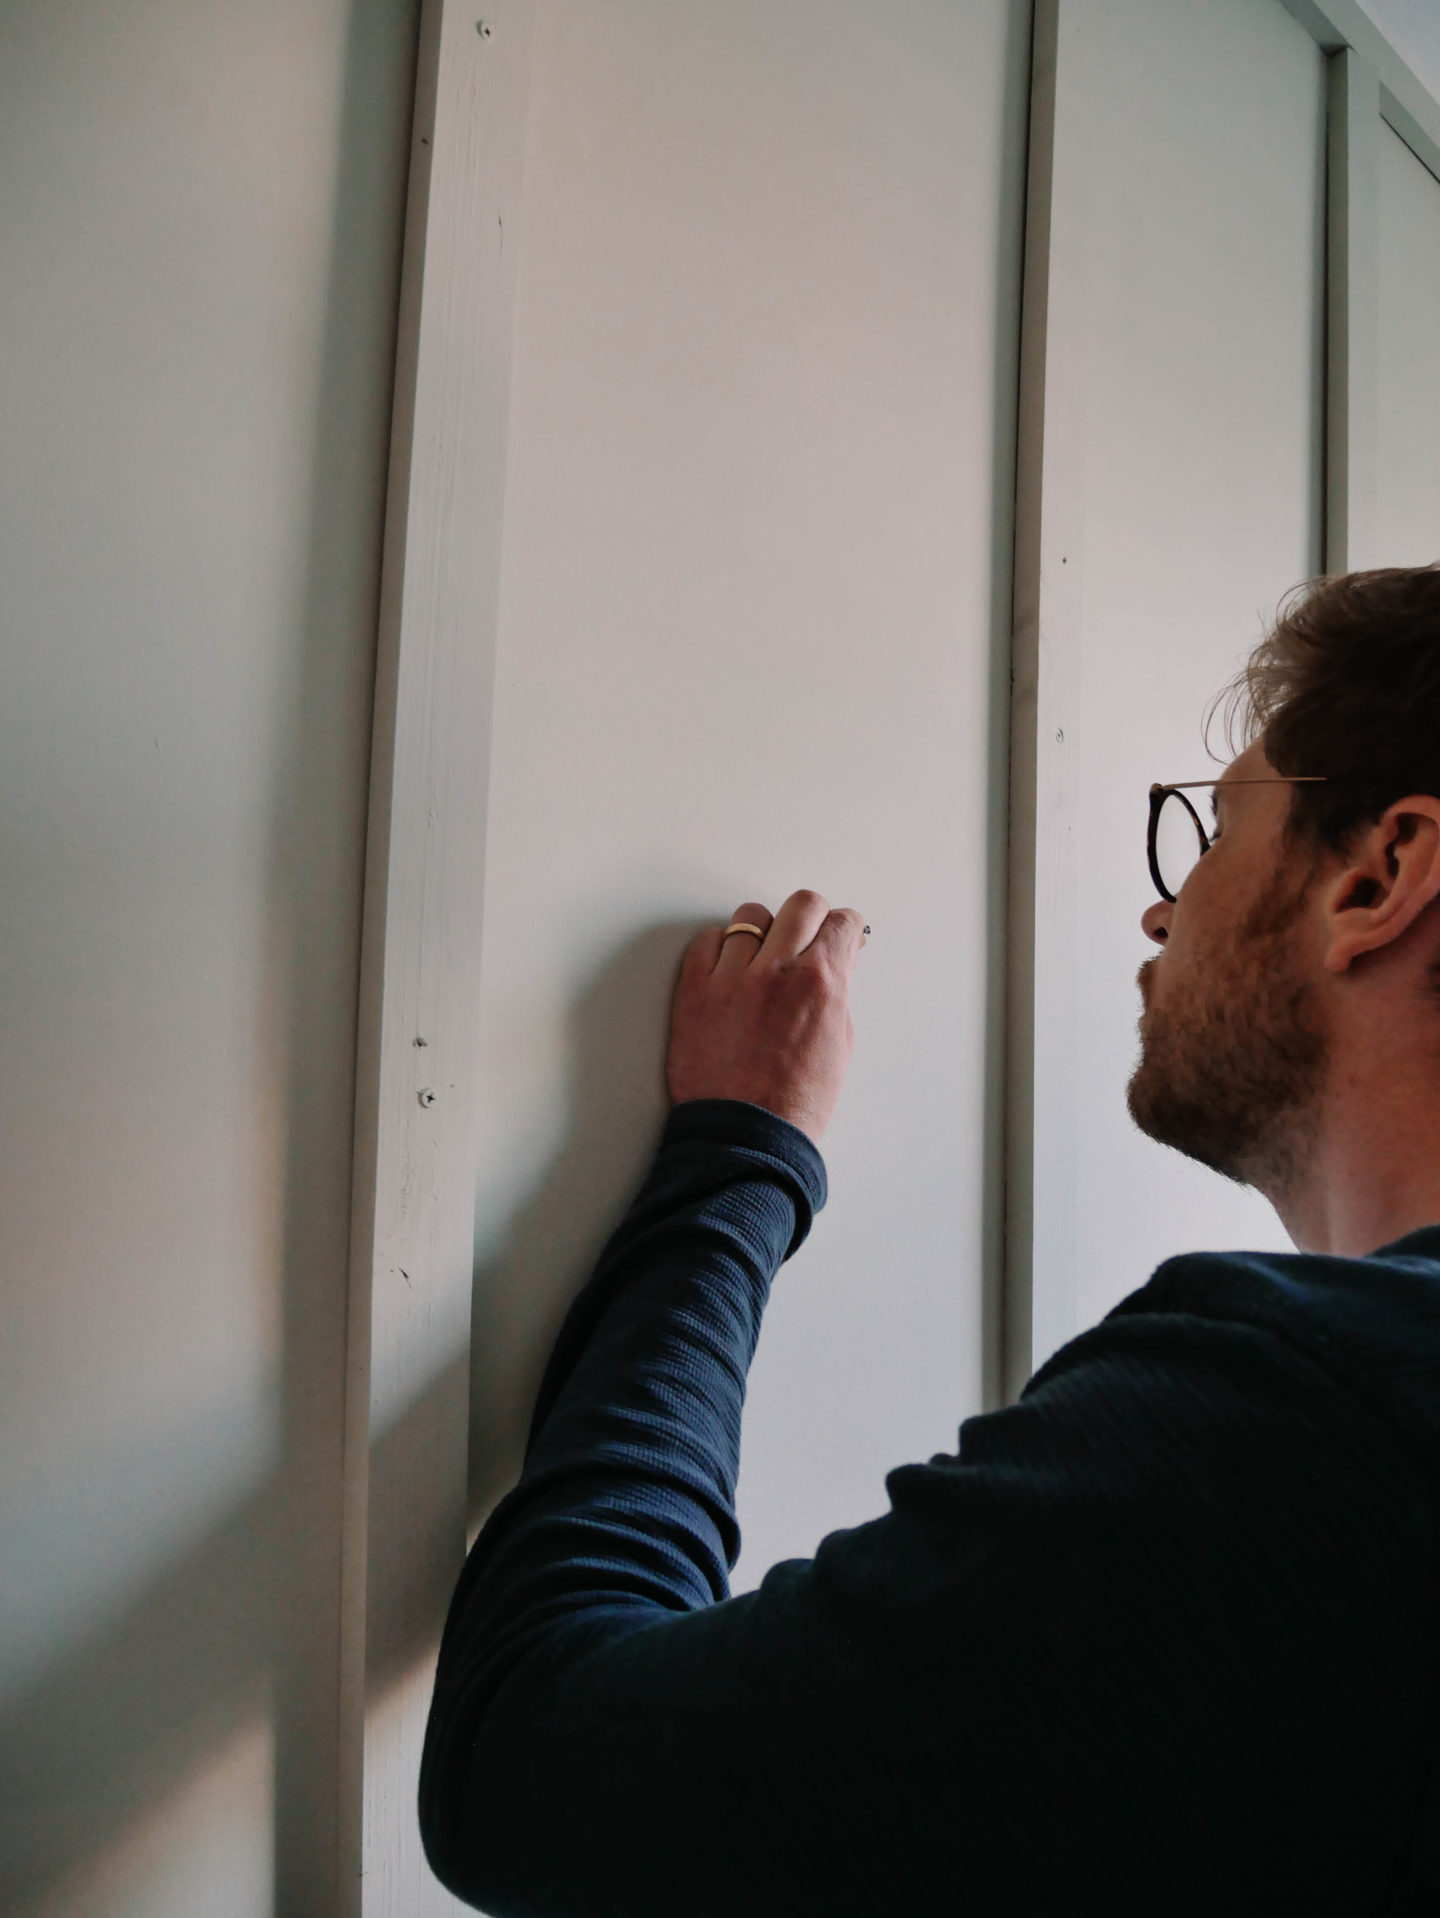
STEP 7: PAINT
We primed the wood first and let dry for an hour. Then did two coats of normal interior matt paint over the wood. You can use an eggshell or satin specific for wood but it will have more of a sheen. I wanted the panelling to blend in the with the walls and have an overall matt finish. We used “Ancient Relic” shade by Valspar Paint which can be bought in-store at B&Q.
YouTube Tutorial
Enjoyed this post? Pin Me For Later!