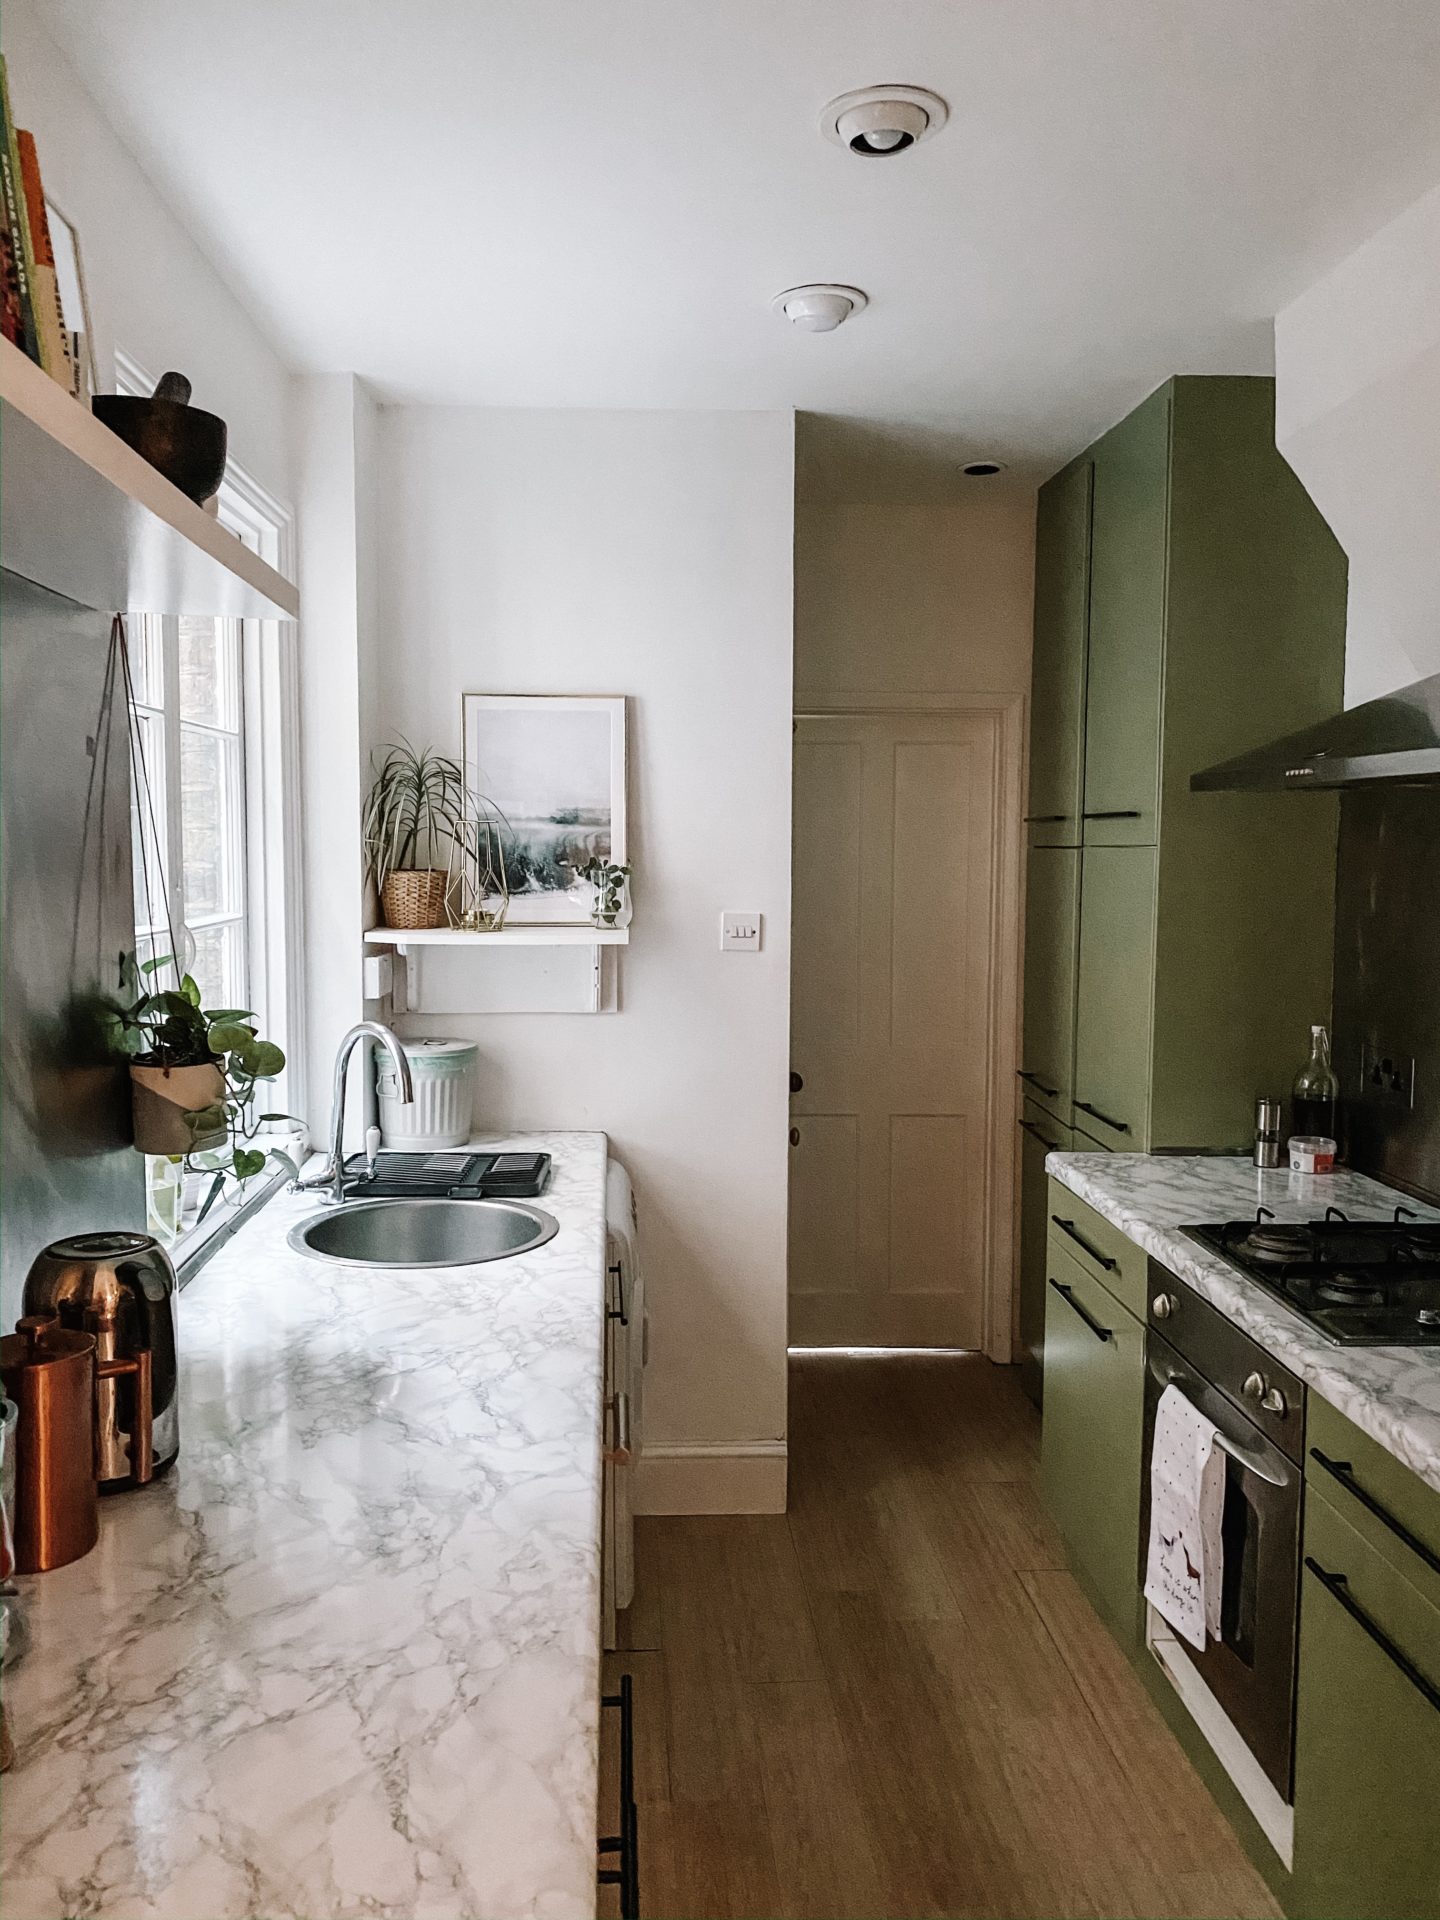
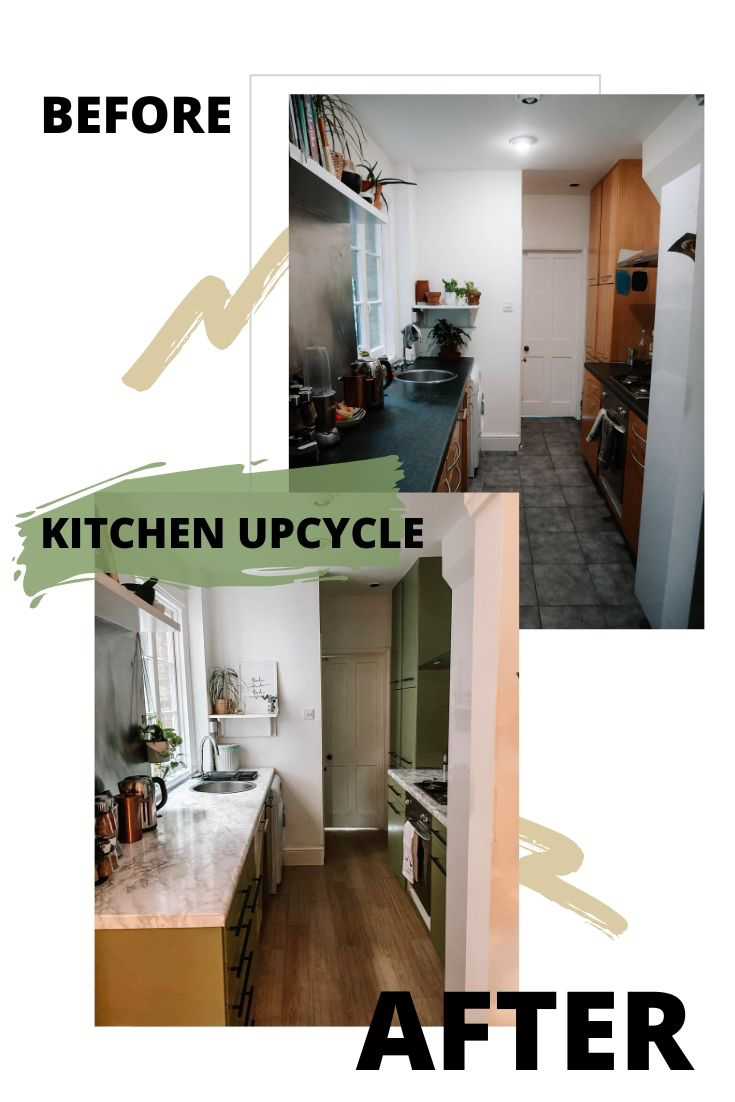
After six months of living in our outdated victorian terrace we decided it was time for a little upcycle. Saving for a rear ground floor extension means that our budget to spruce up our kitchen is lean. We decided to allocate £200 for the job agreeing it was a worthwhile spend for a lighter, brighter and more enjoyable space whilst we save for the refurb.
The total cost came to £147 for the items we bought. The paint was kindly gifted by Valspar as I recently worked with them on an Instagram project. Had we needed to cover this, it would have come to just under £200. For the transformation I’d say it’s a worthwhile mini investment in our home.


What you’ll need:
Wood and Metal Eggshell Emulsion (we used colour Prairie Sage)
Metal ruler or something straight to guide your cuts
Starters:
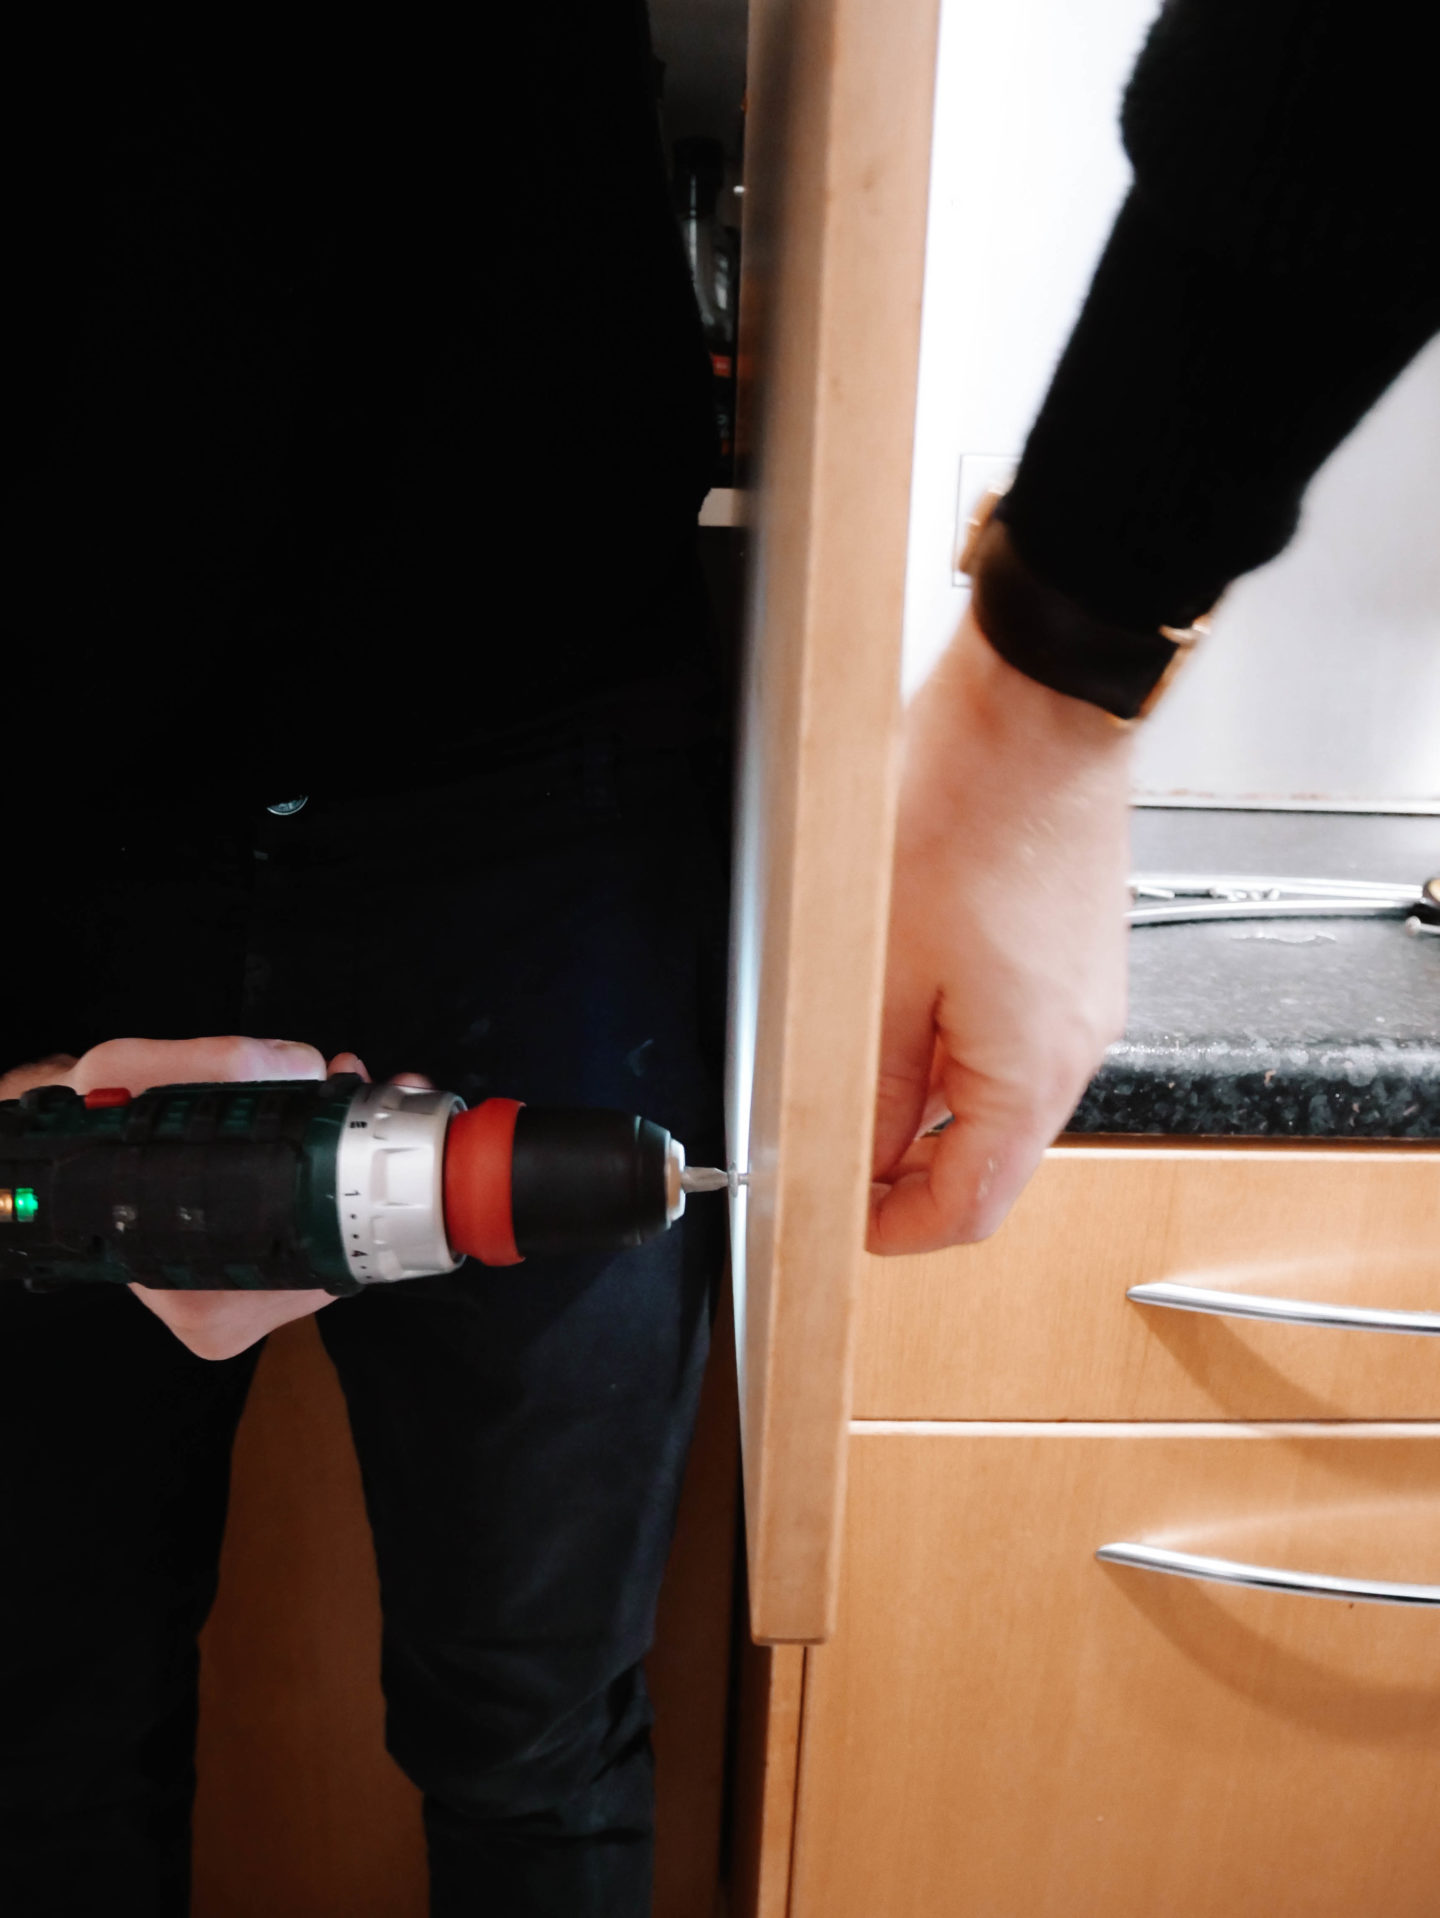
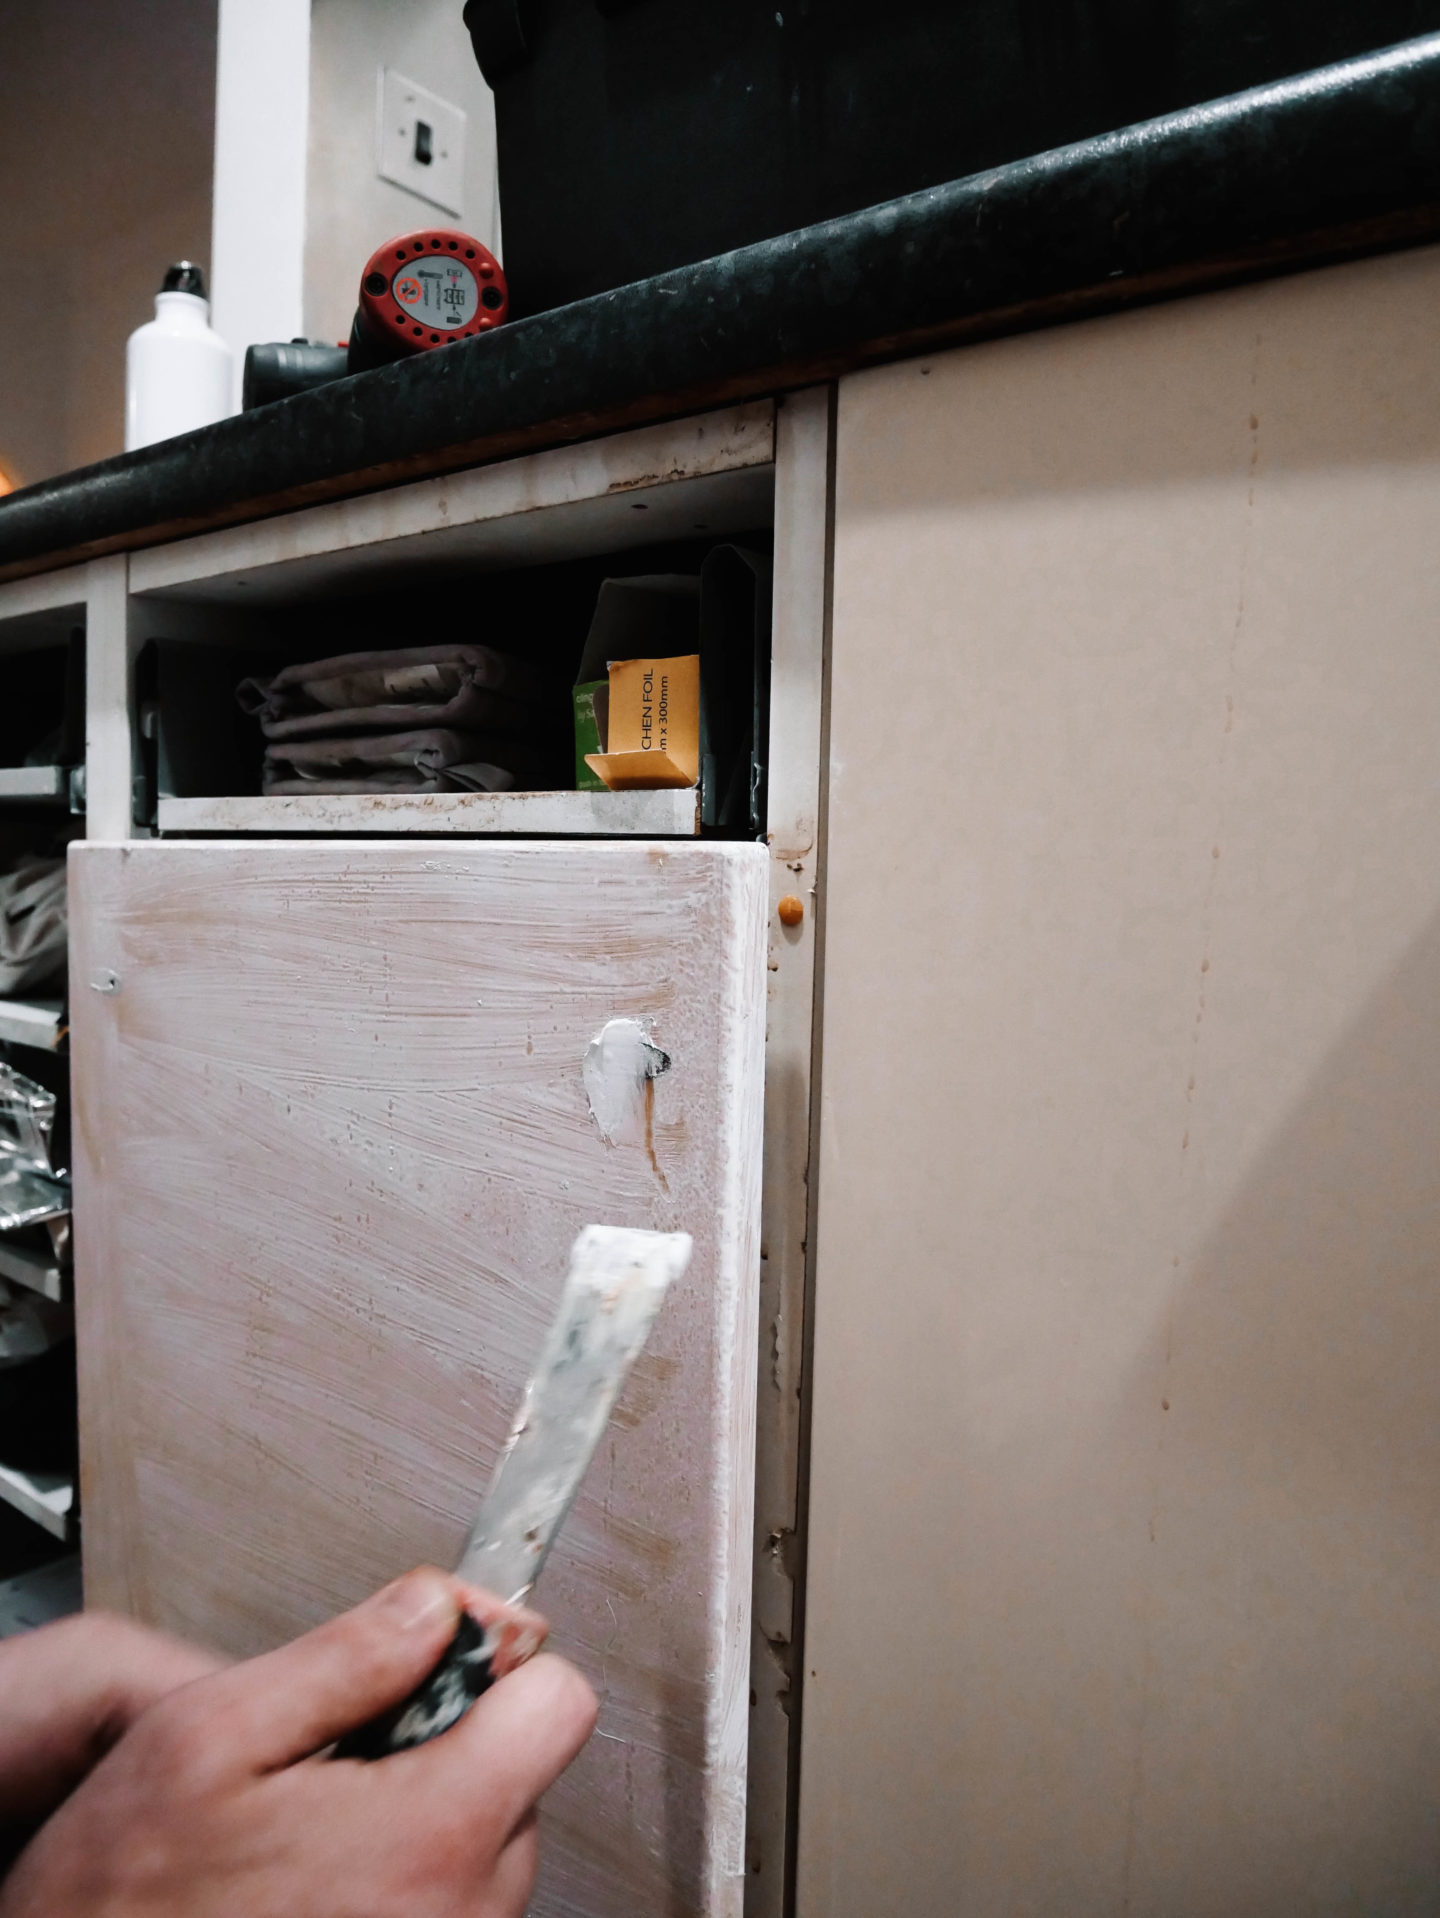
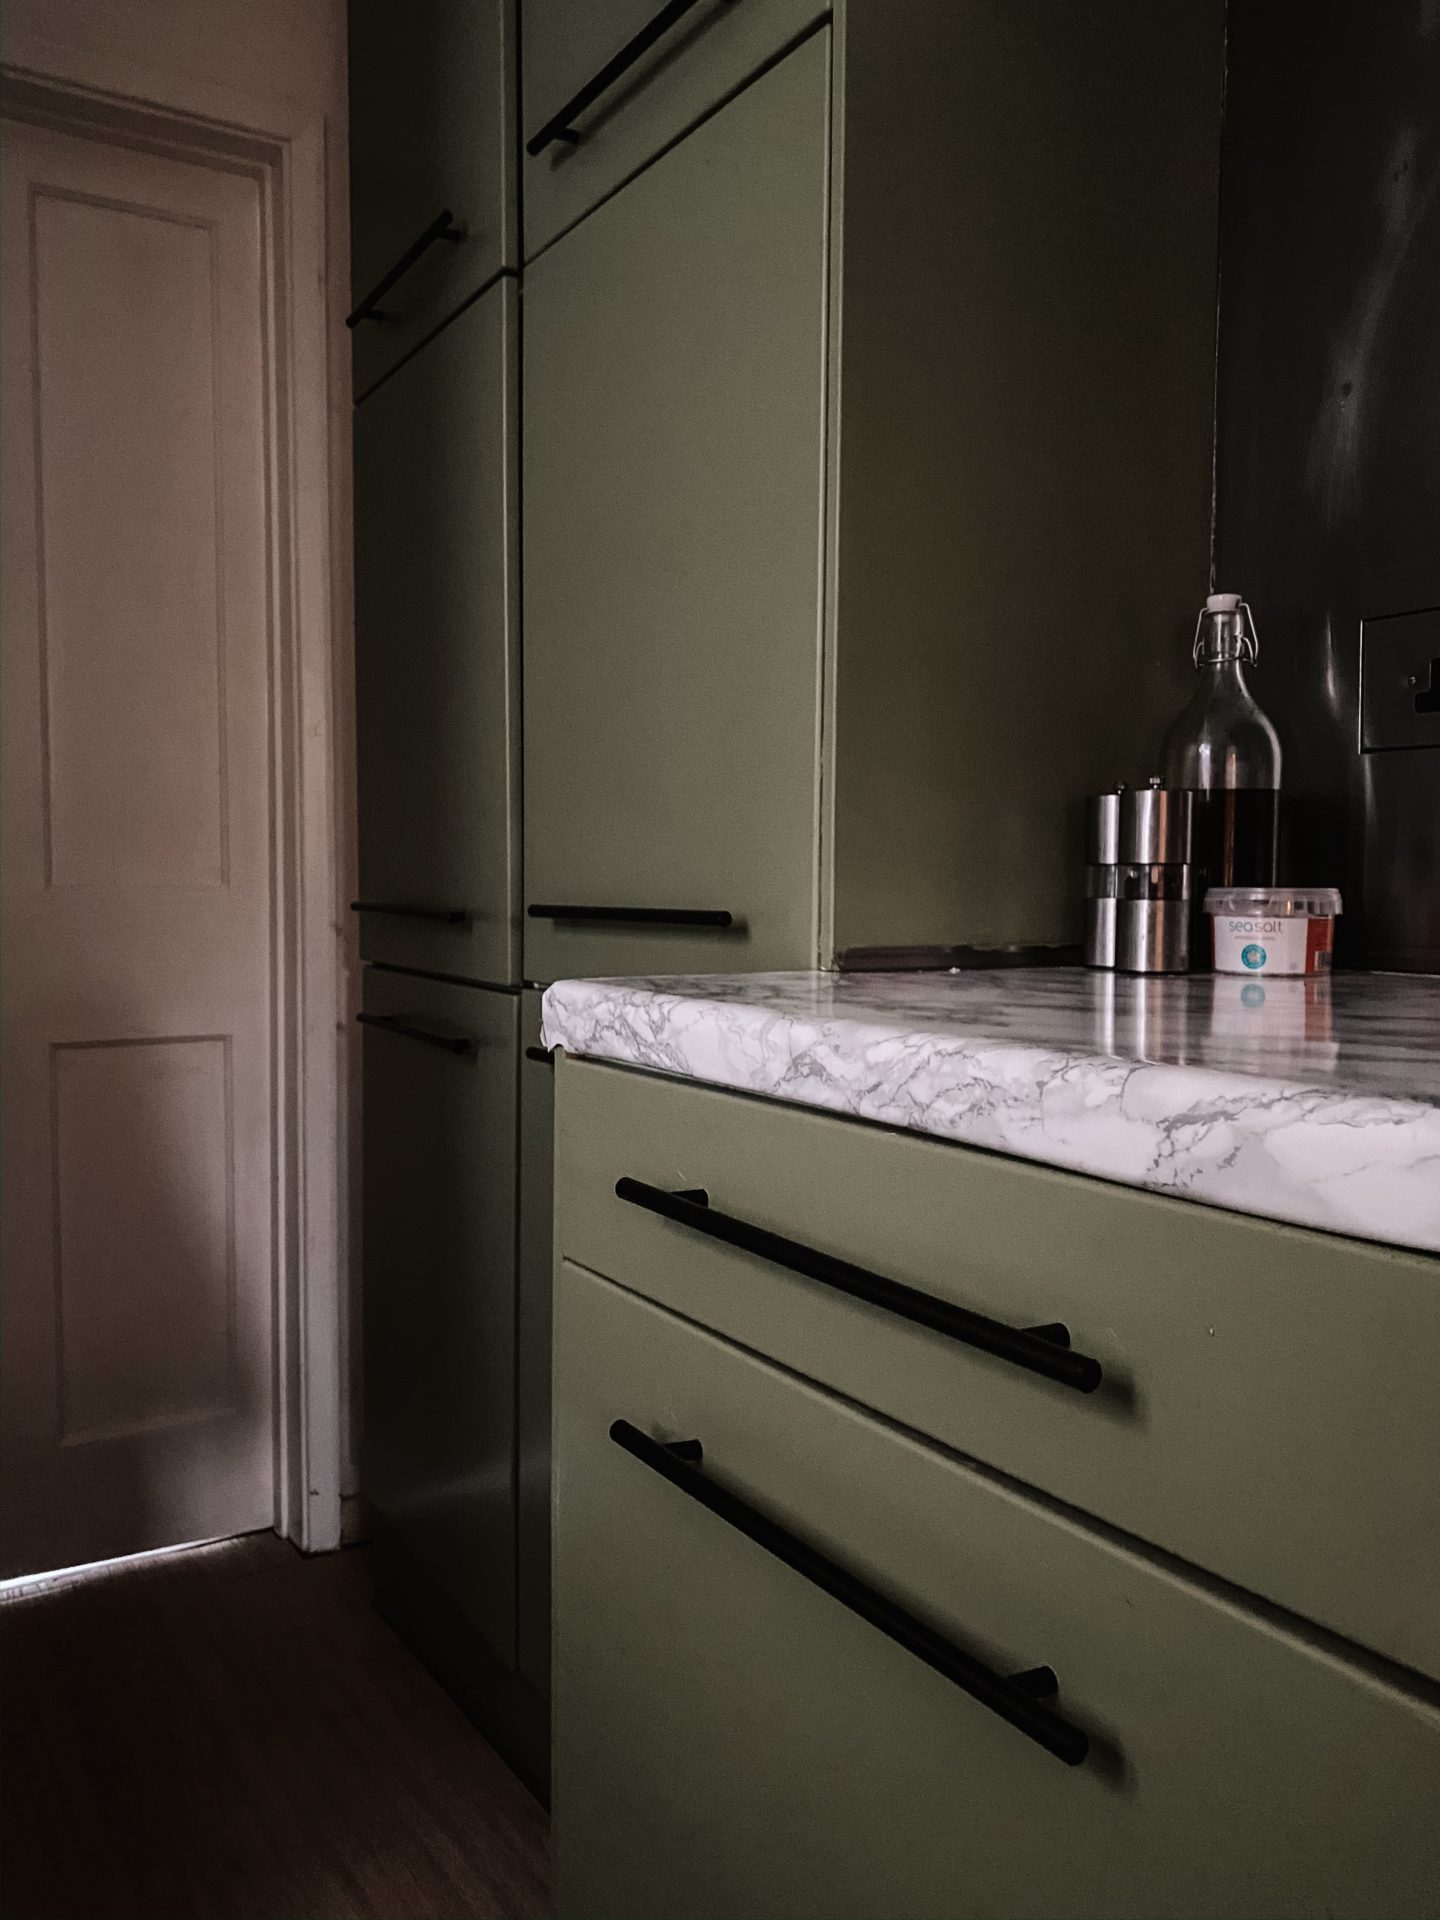
Remove old handles. Ideally you should aim to have the new drawer and cupboard handles the exact same length as the outgoing set, however this isn’t always possible depending on brand or style. Fill and sand old holes, and drill new ones to match the new handles if required. Either way do this before any painting.
Paint:
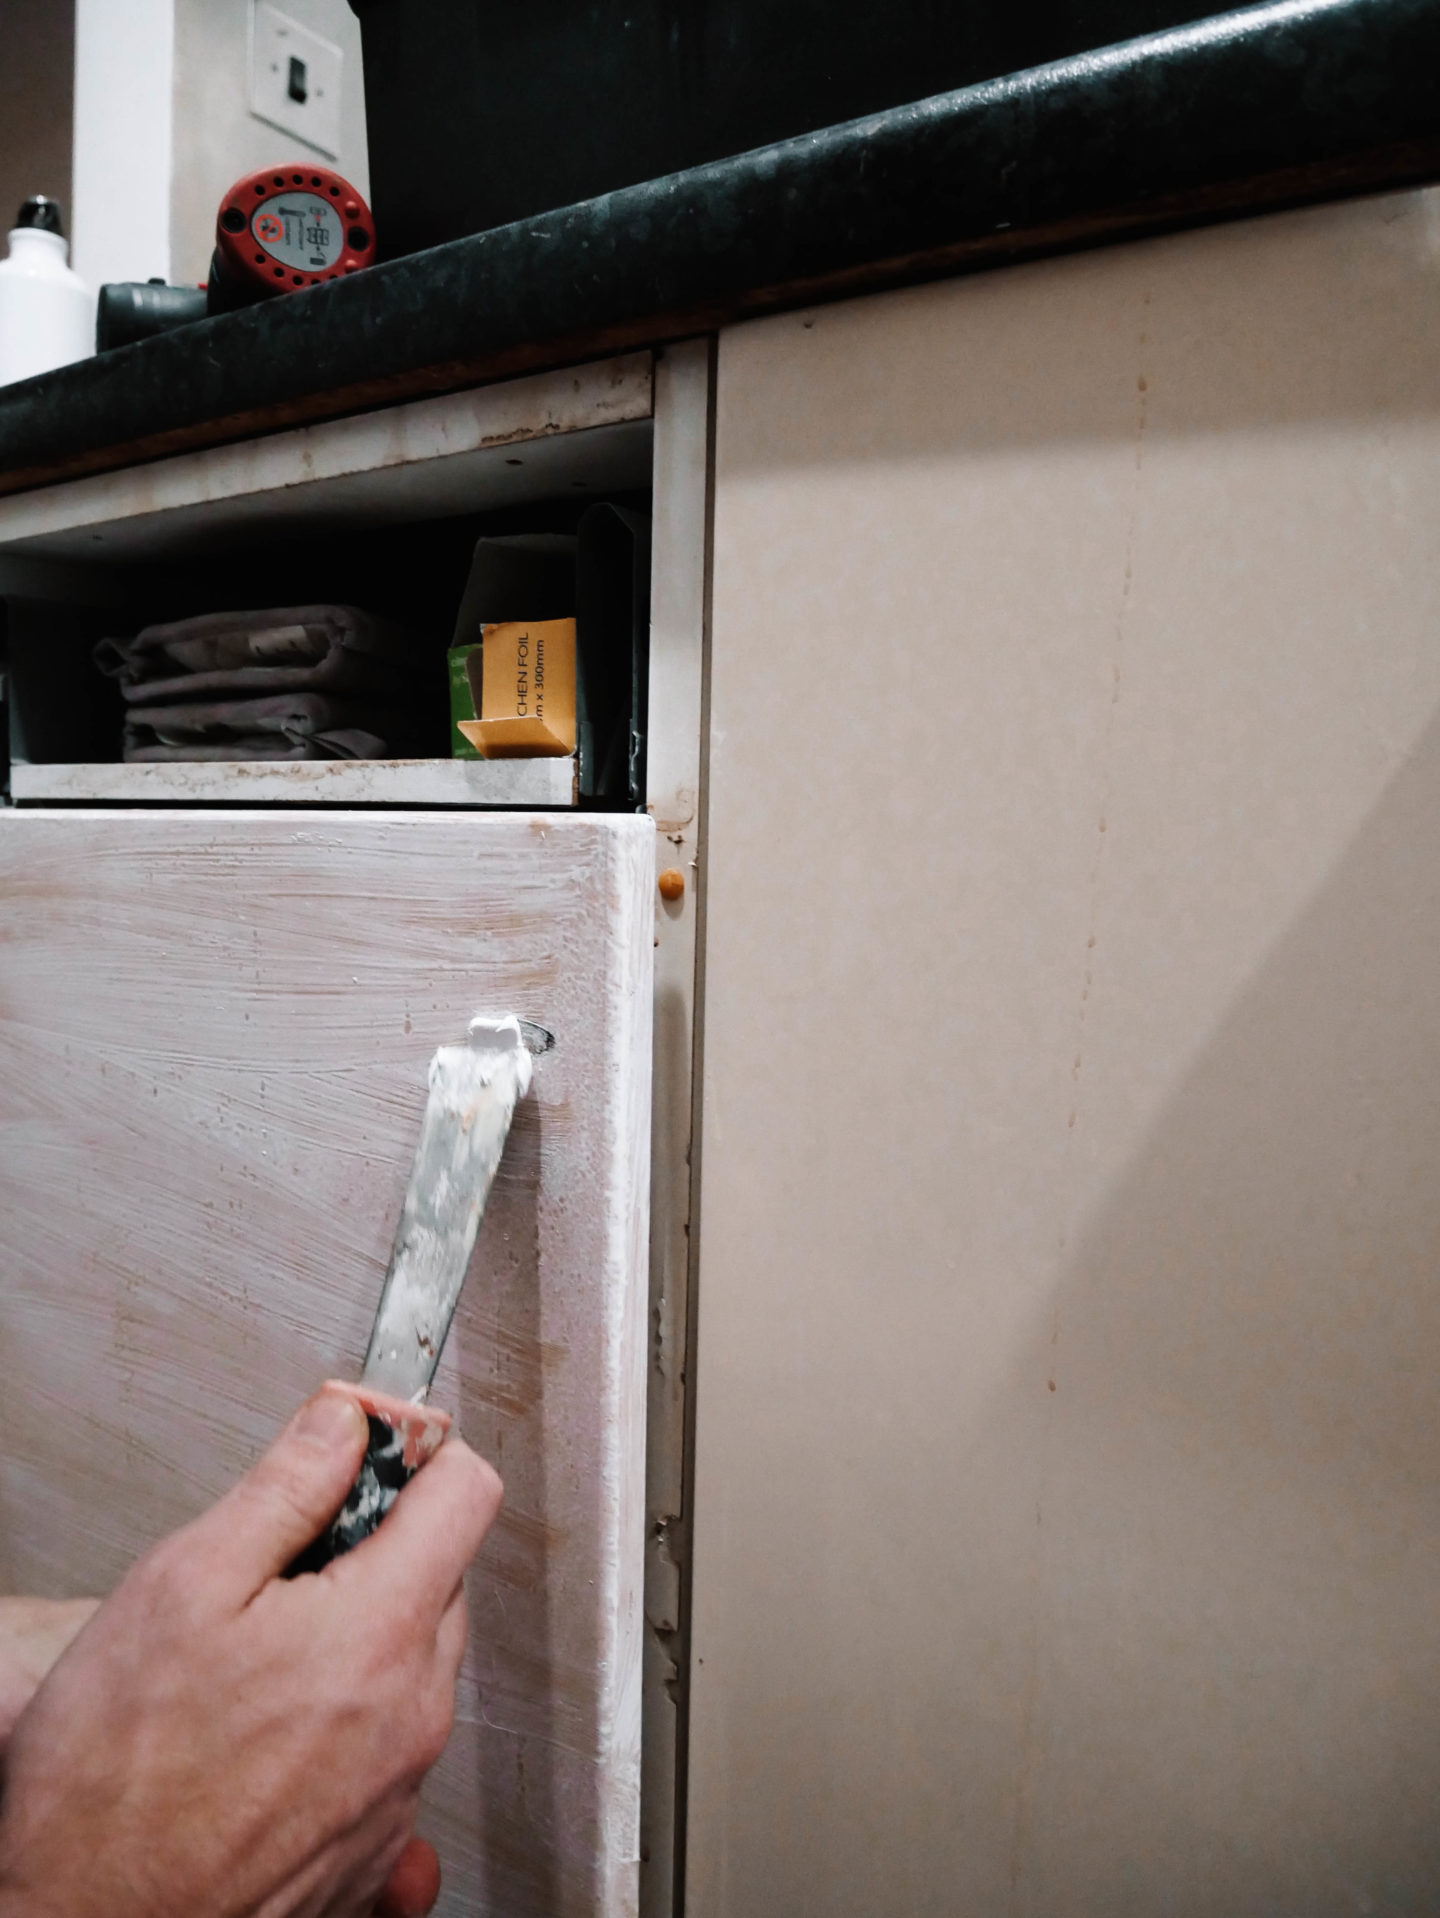
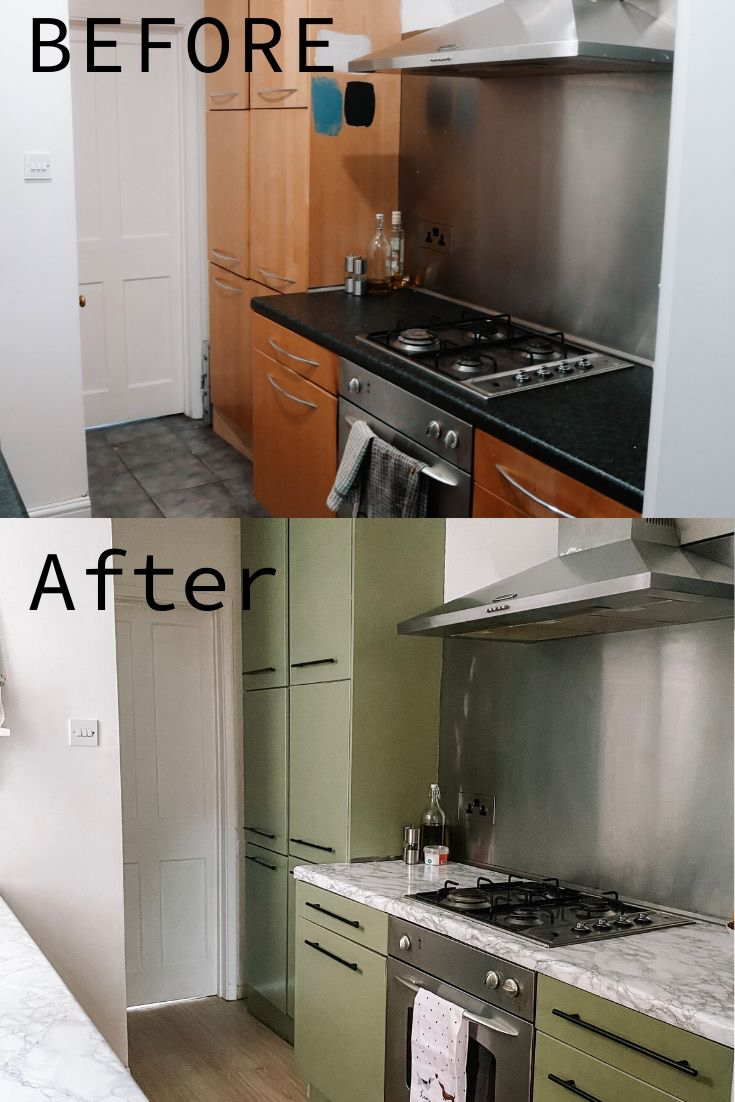
Before starting the job, make sure you have kitchen cabinets that can take paint. If your wooden cupboards are lacquered then give them a quick light sanding before priming.
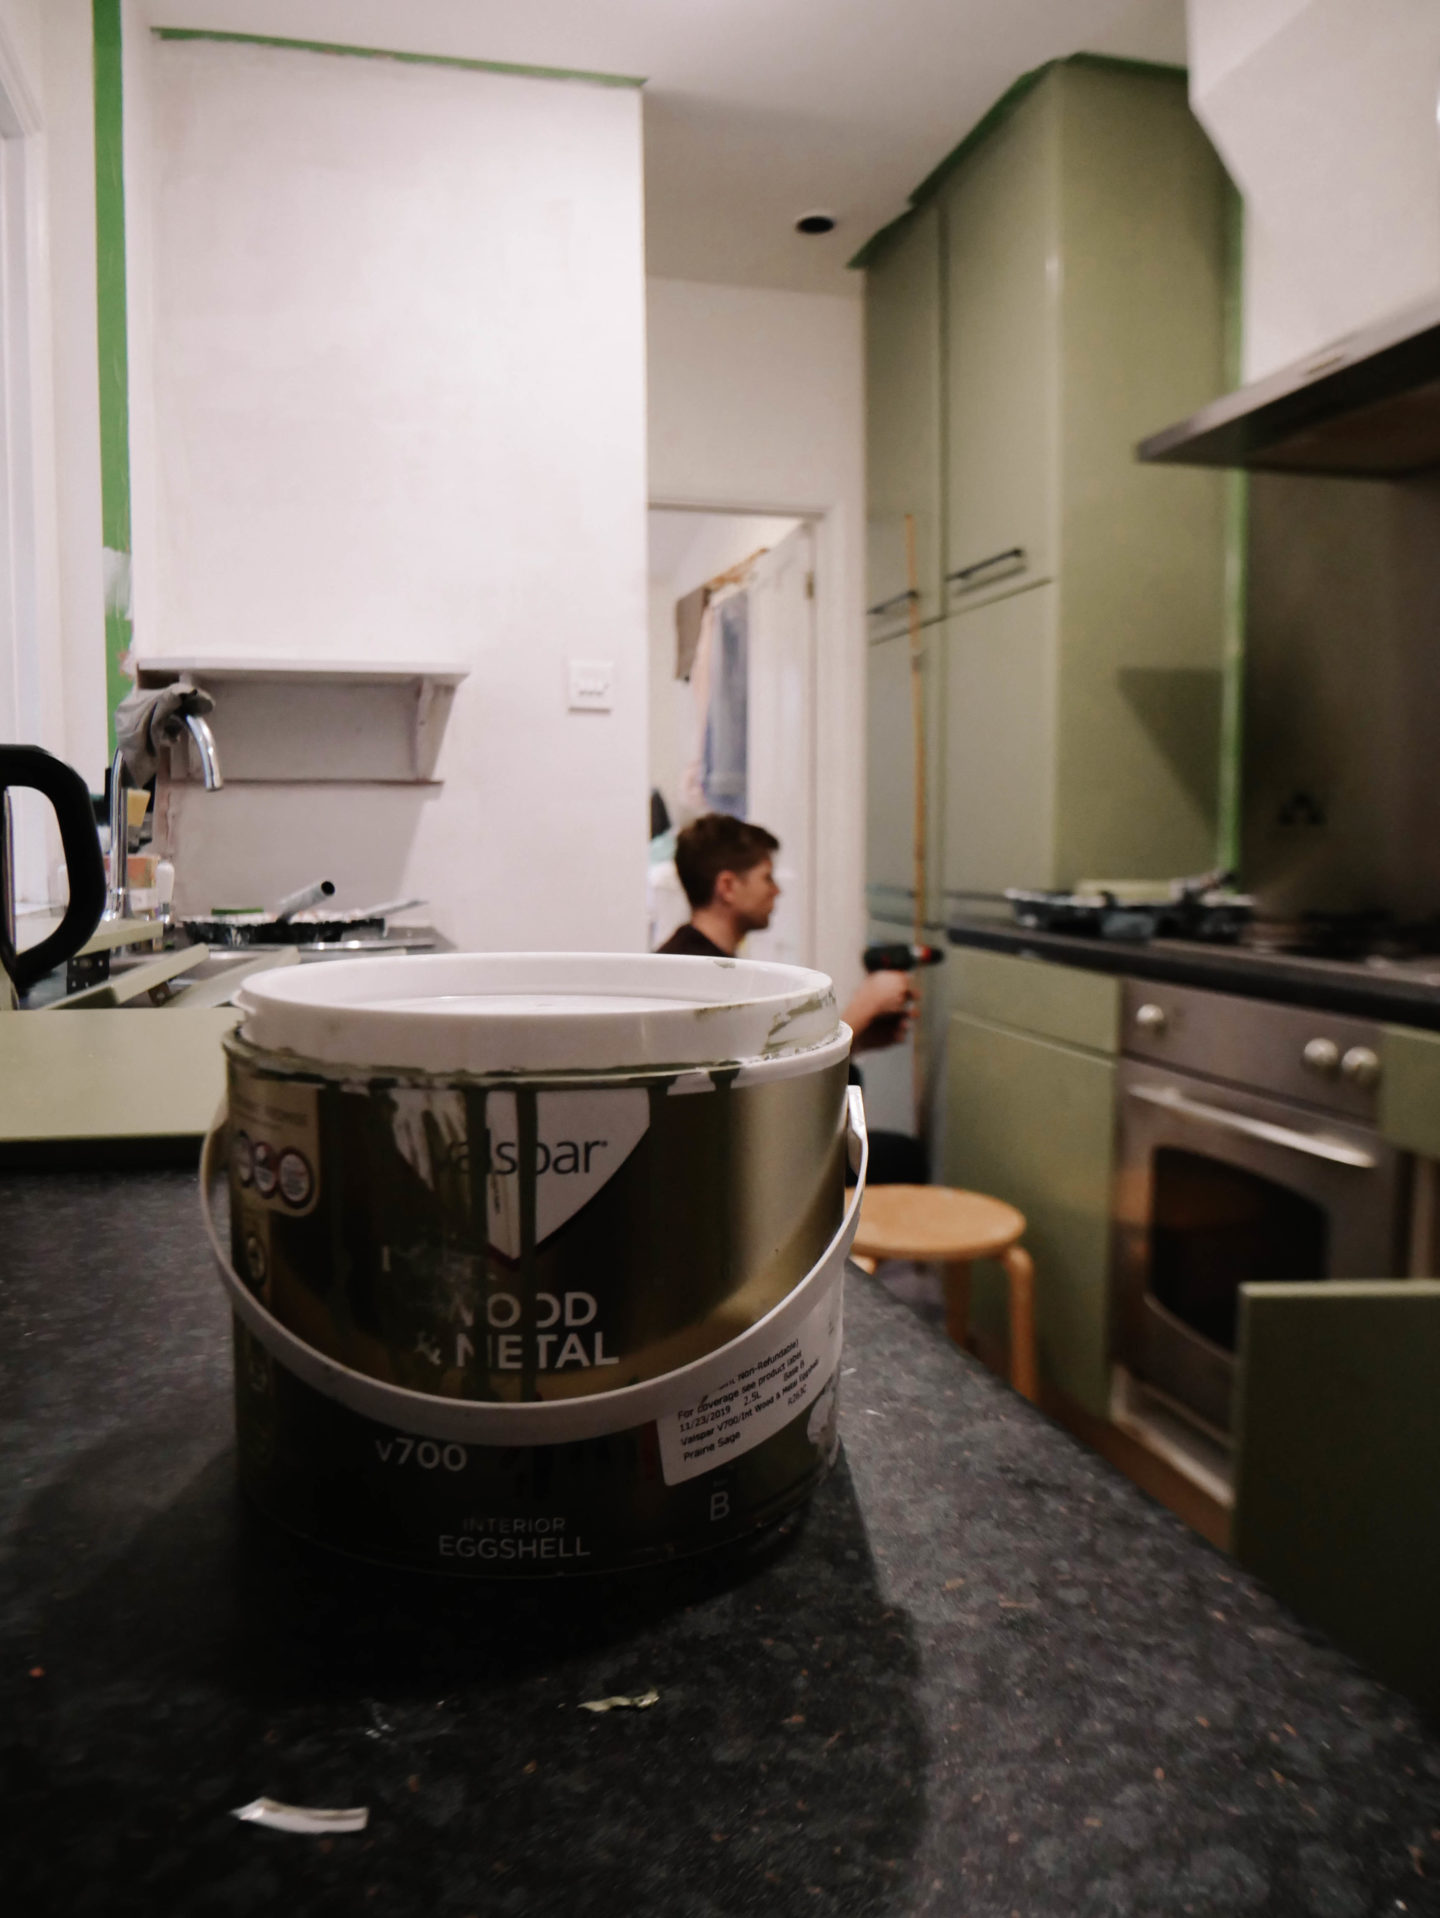
Prime cupboards and allow to fully dry before painting on first coat of eggshell. We opted for eggshell over gloss or satin. Valspar do any colour match in wood and metal eggshell paint so your choices are limitless. The following day we added the second coat of eggshell to ensure the first coat was fully dried.
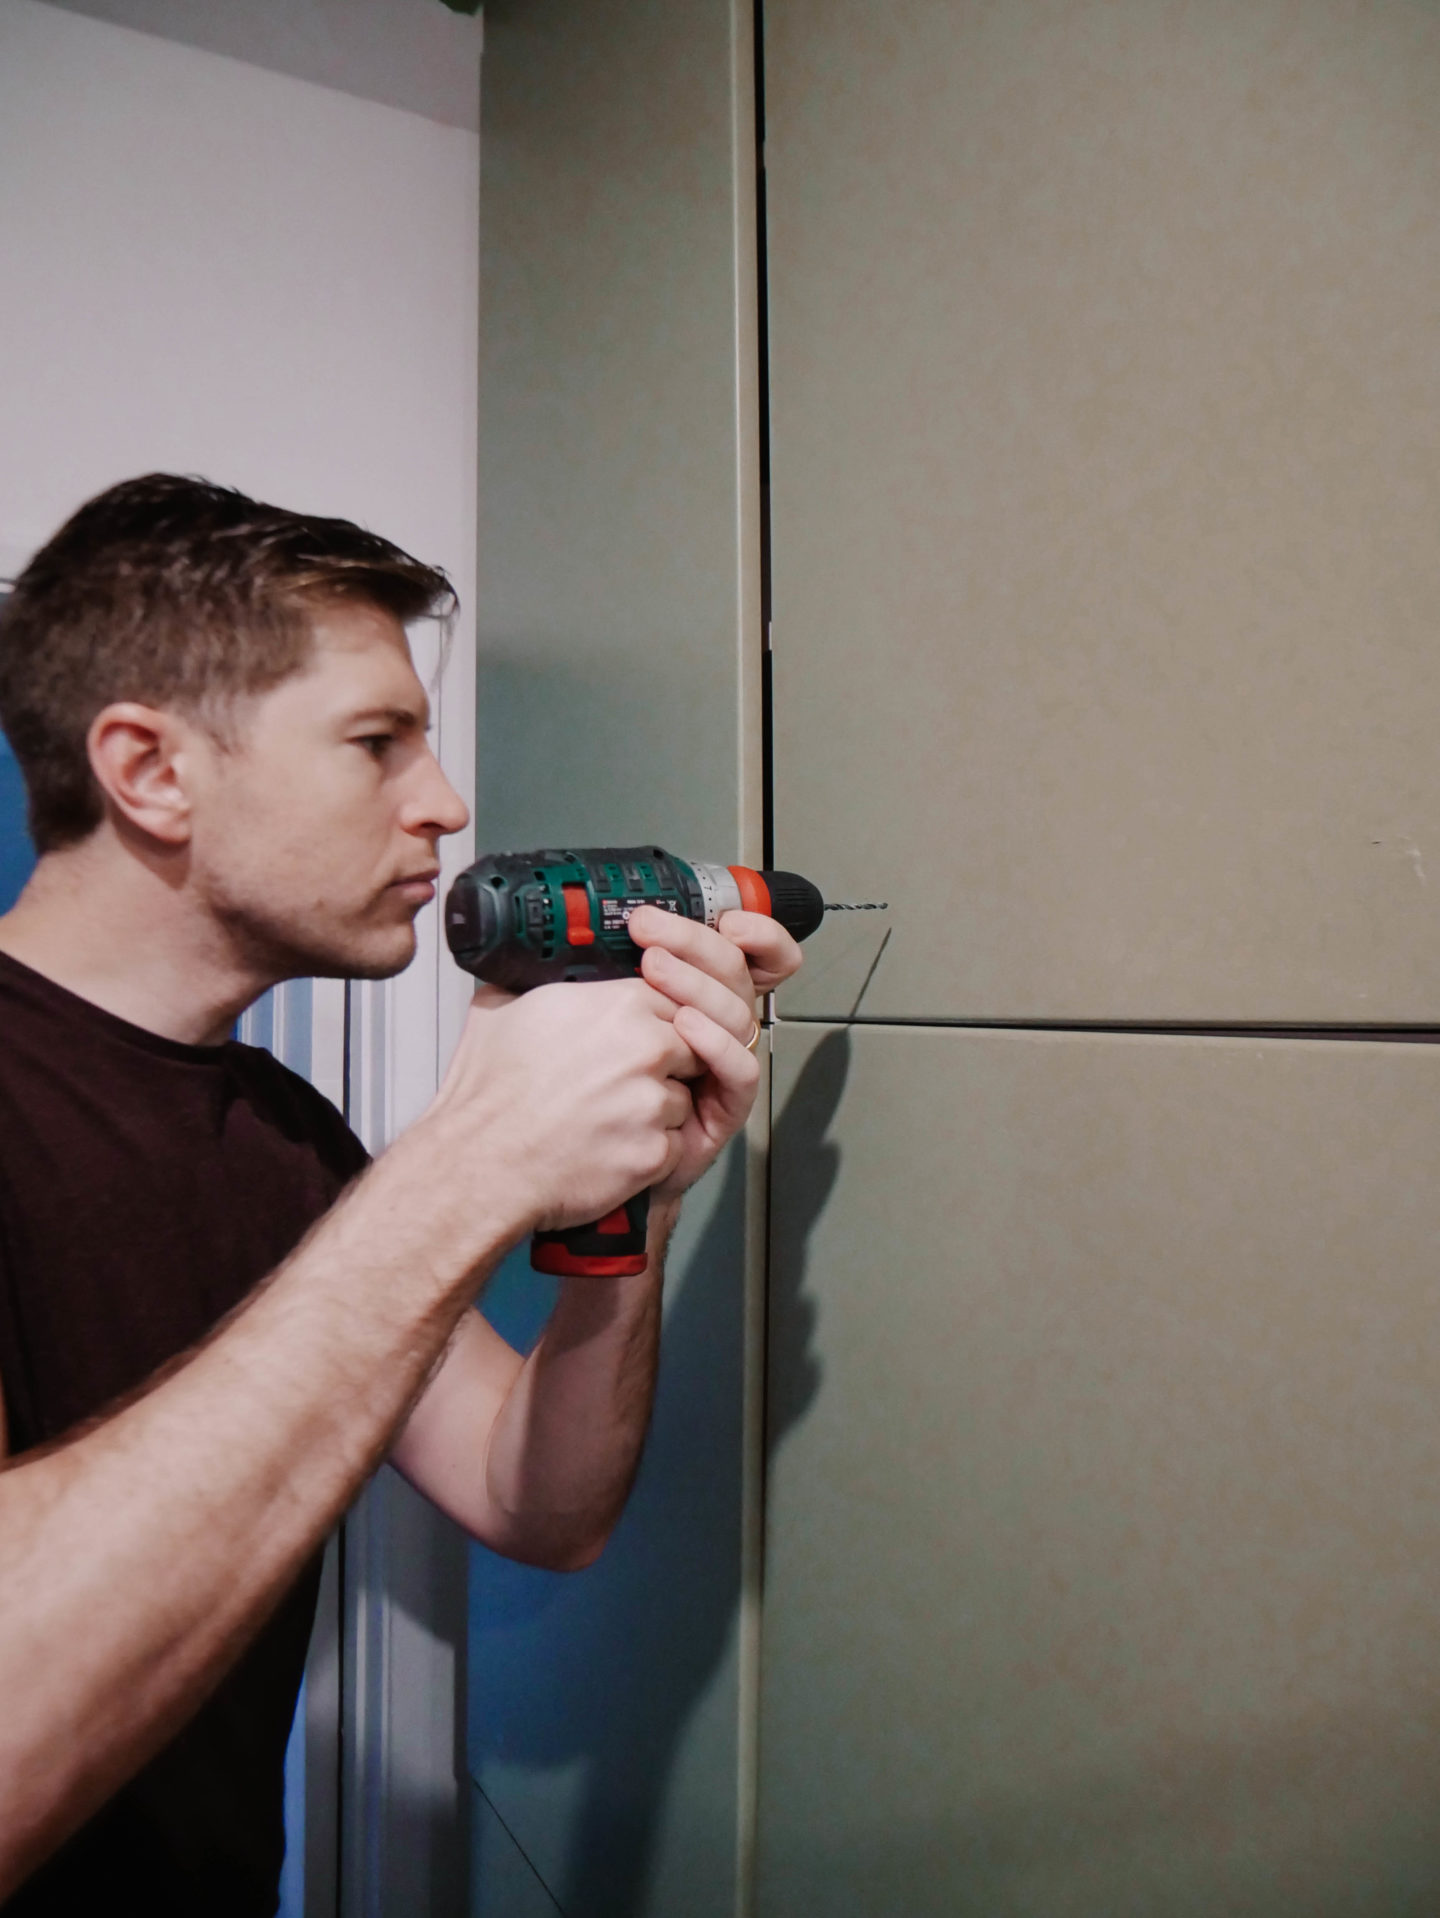
Once all coats had dried attach new drawer handles, using a spirit level.
Flooring:
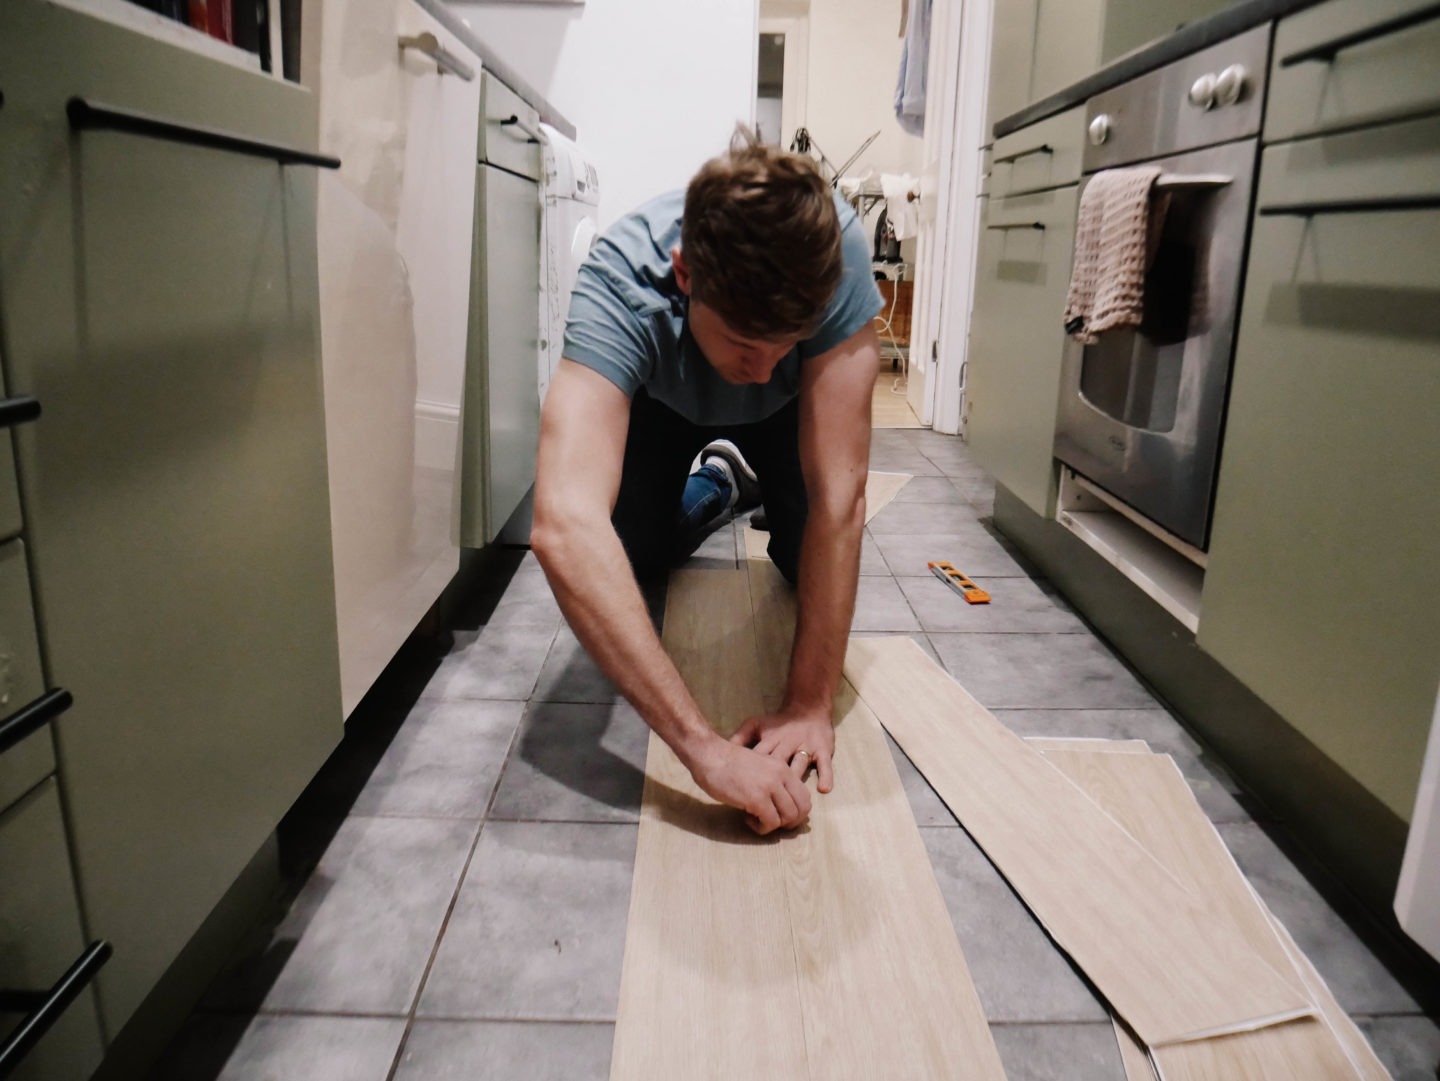
Once all paint is put away it’s time to start sticking down the flooring. Make sure your floor is fully swept, mopped and clean and grease free. We decided to bleach the floor and fully dry it out just to be extra sure it was as clean as could be before laying the floor.
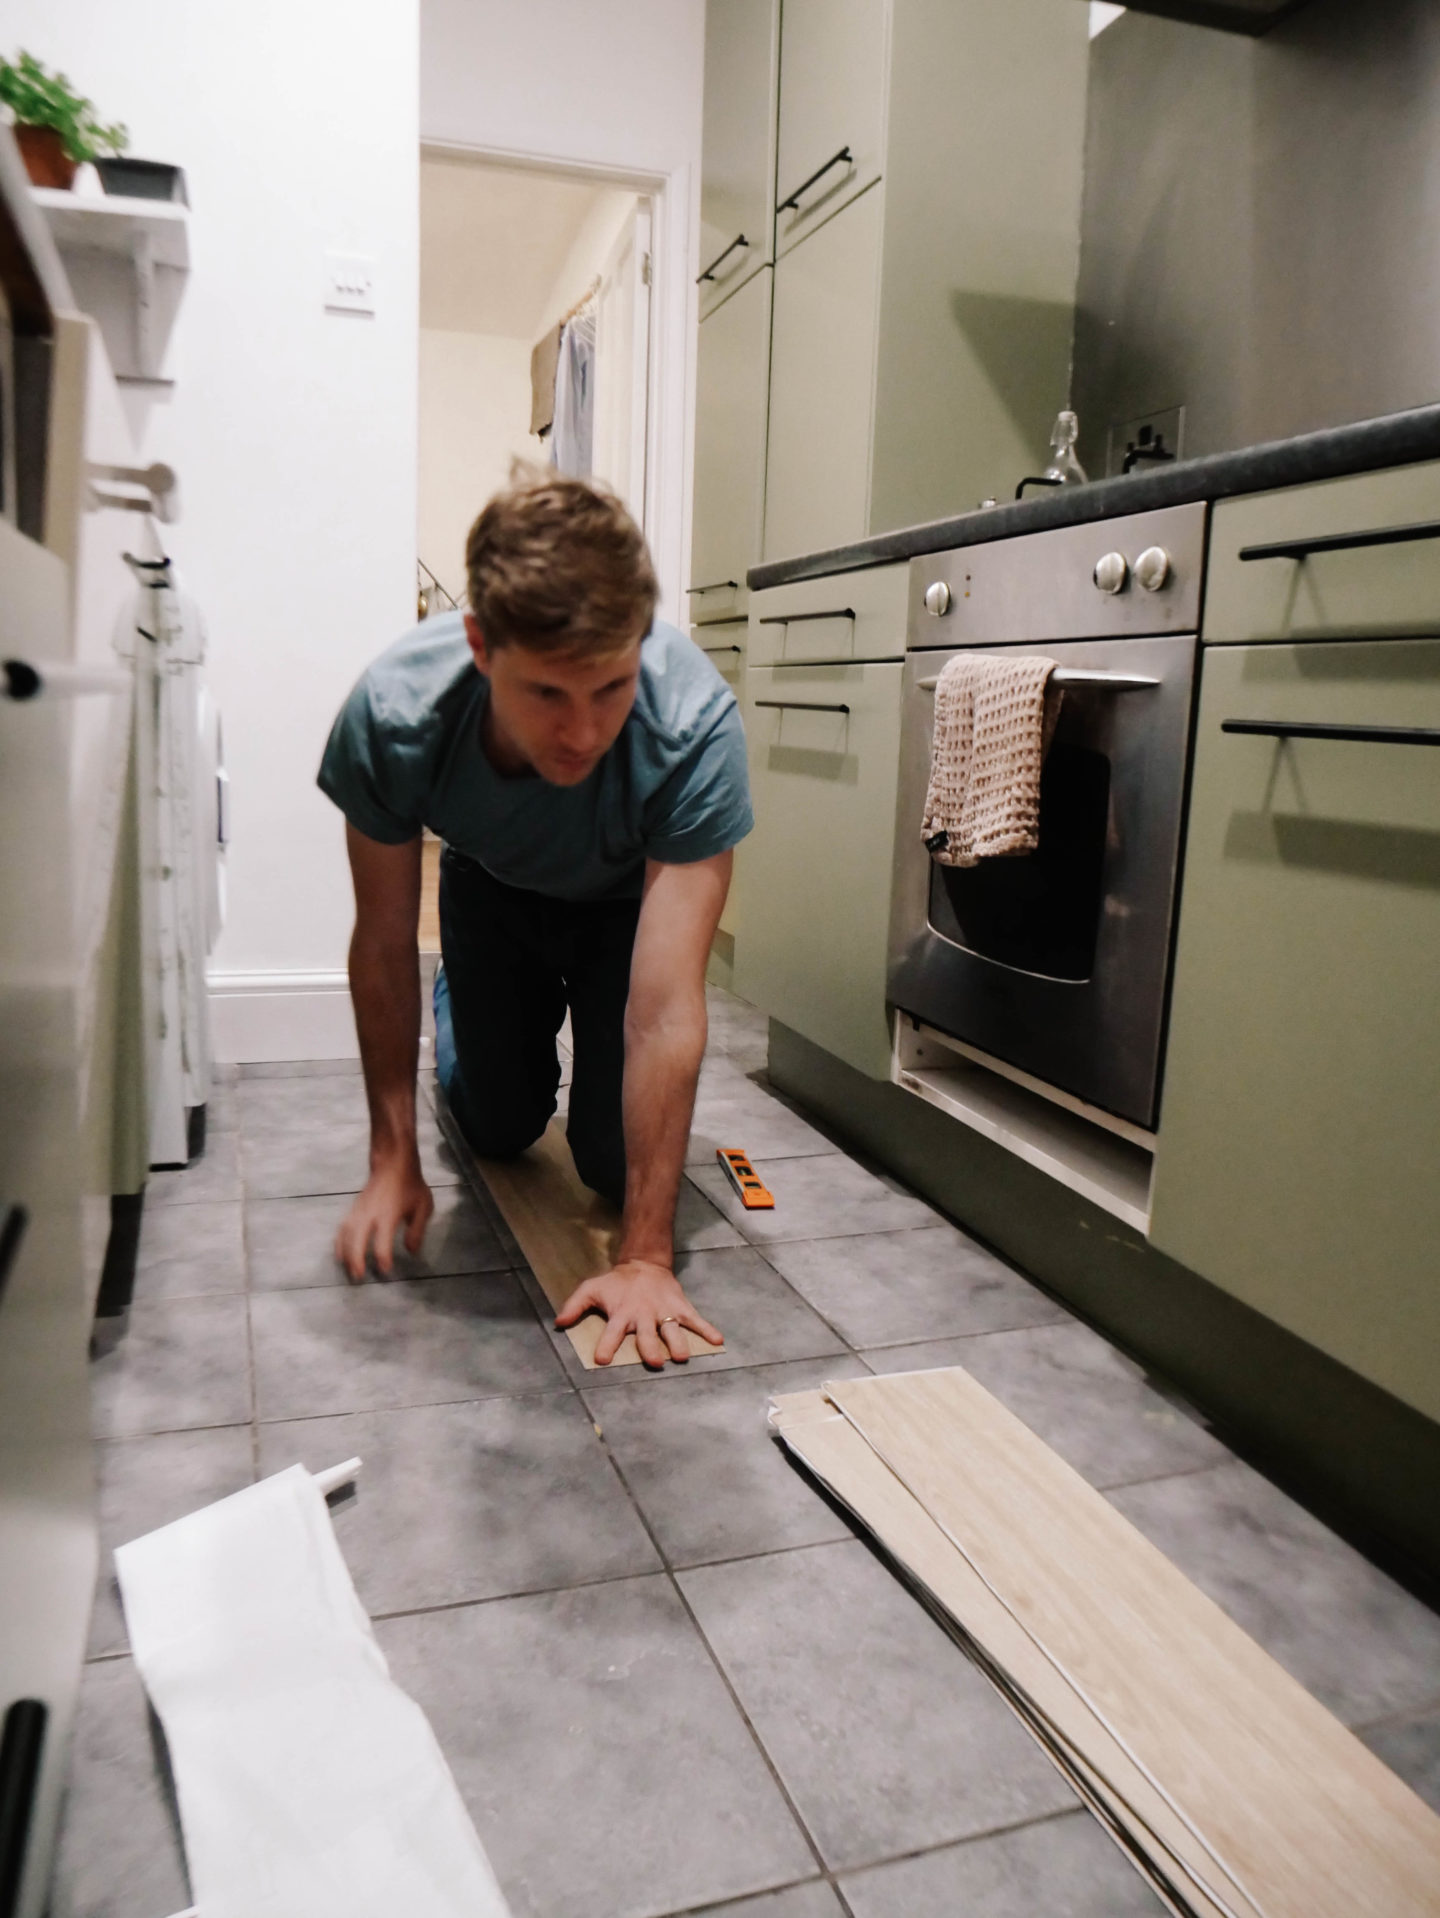
The floor was probably the easiest of all tasks. The flooring we got from B&Q was so easy to cut and lay. They sell a selection of stick on tiles and imitation wood flooring. If you go for wood flooring make sure to lay the planks in a random pattern, with a variety of plank lengths. It helps visually to lay the first plank in the centre of the floor and then work out from here. This also means the planks at the very perimeter of your room (which will probably need to be cut to size) will be the same width on each side – so the room is balanced.
To cut the flooring use the utility knife. It gets a little fiddly around the door frames, just go slow and measure out where you need to make cuts.
Worktop:
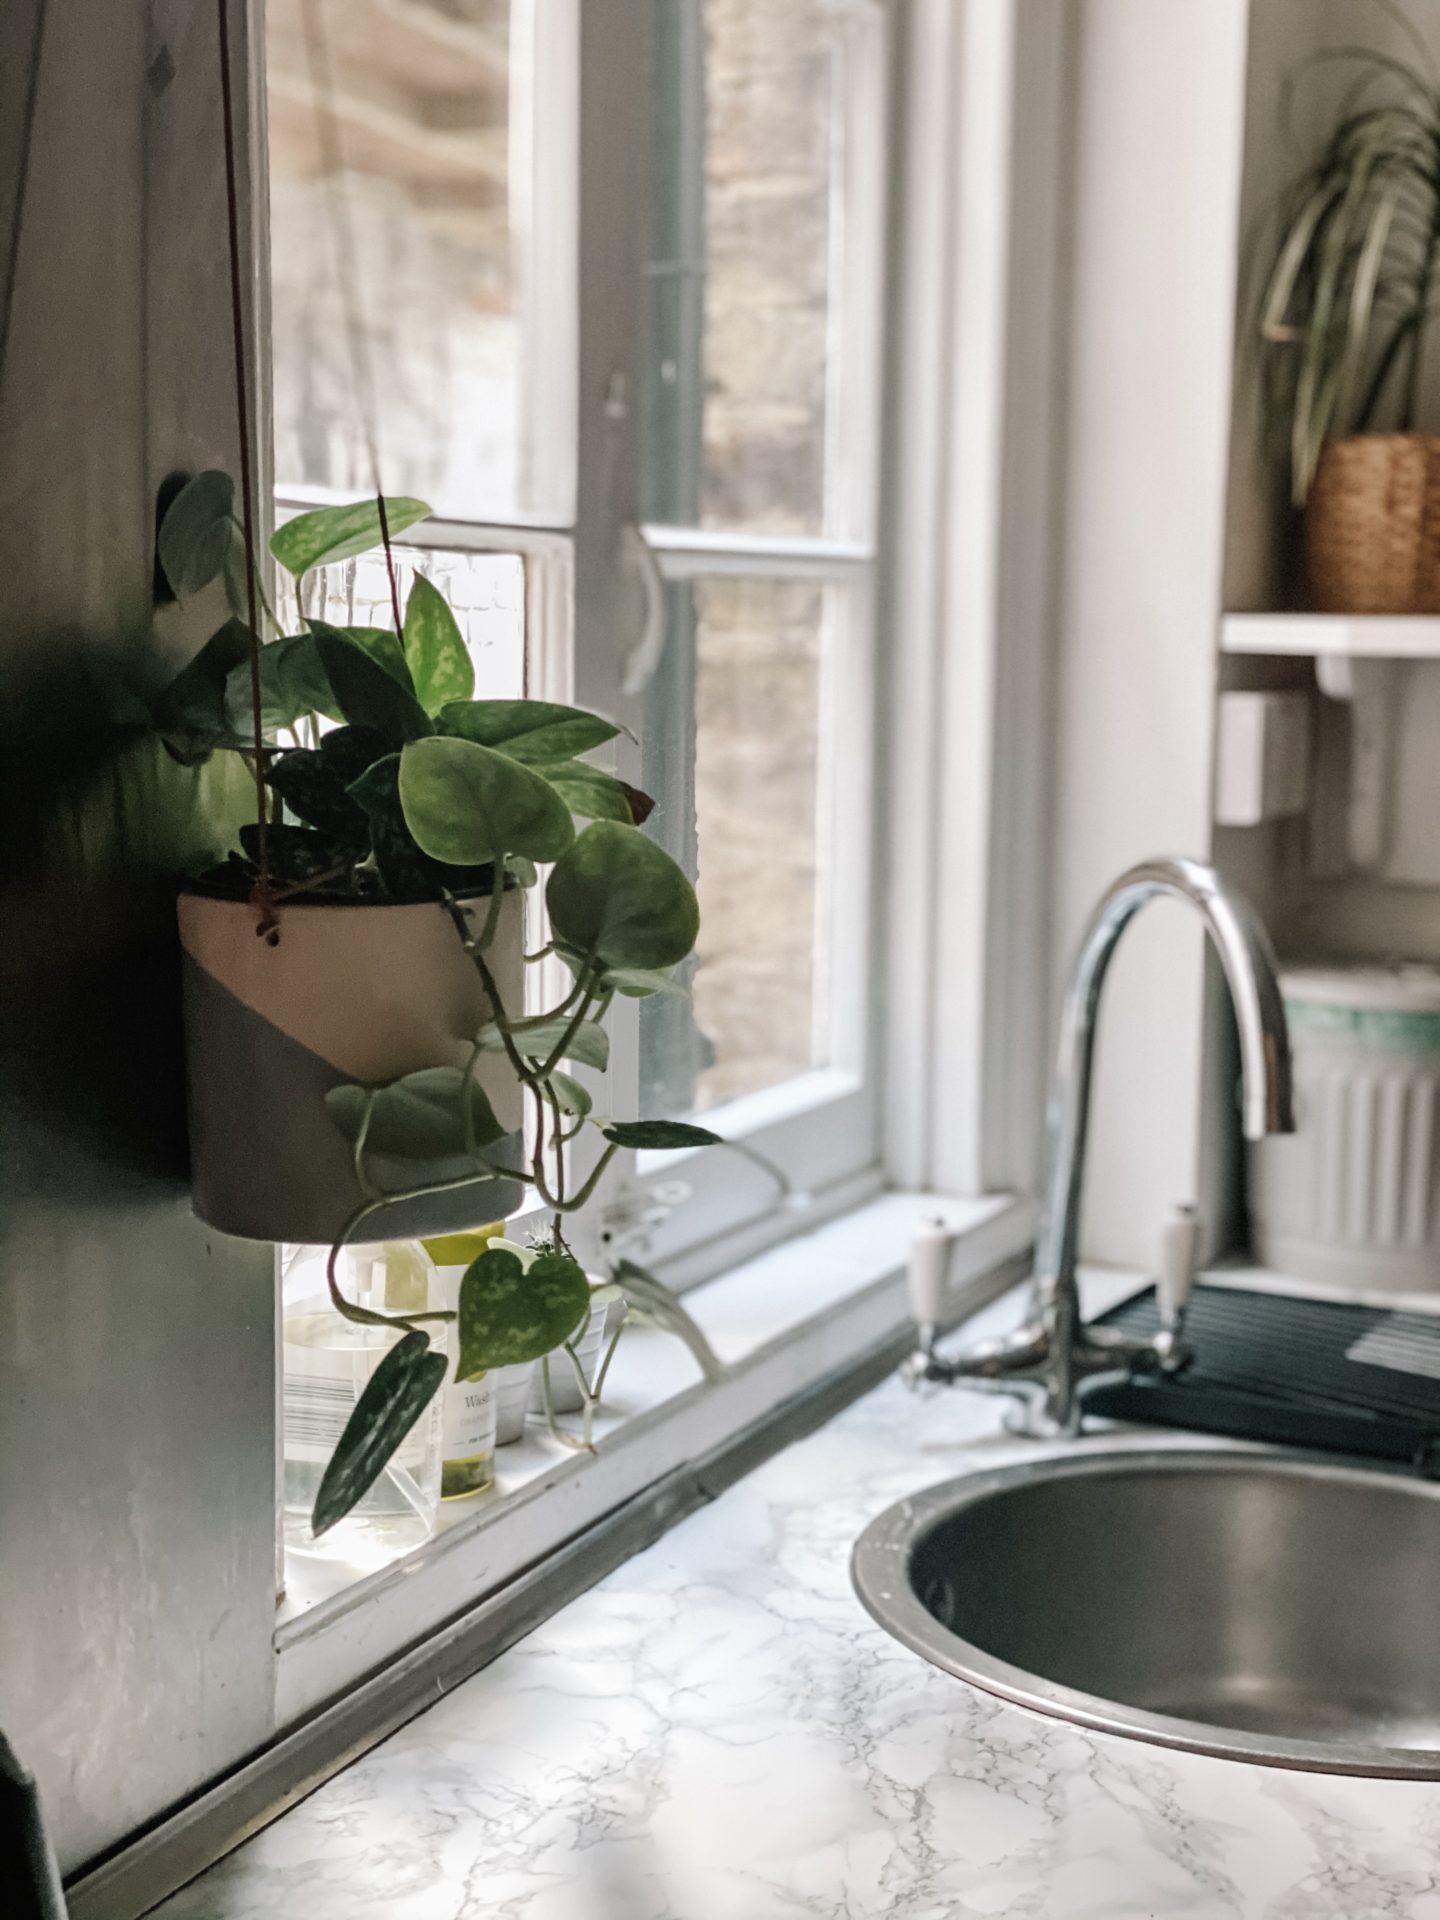
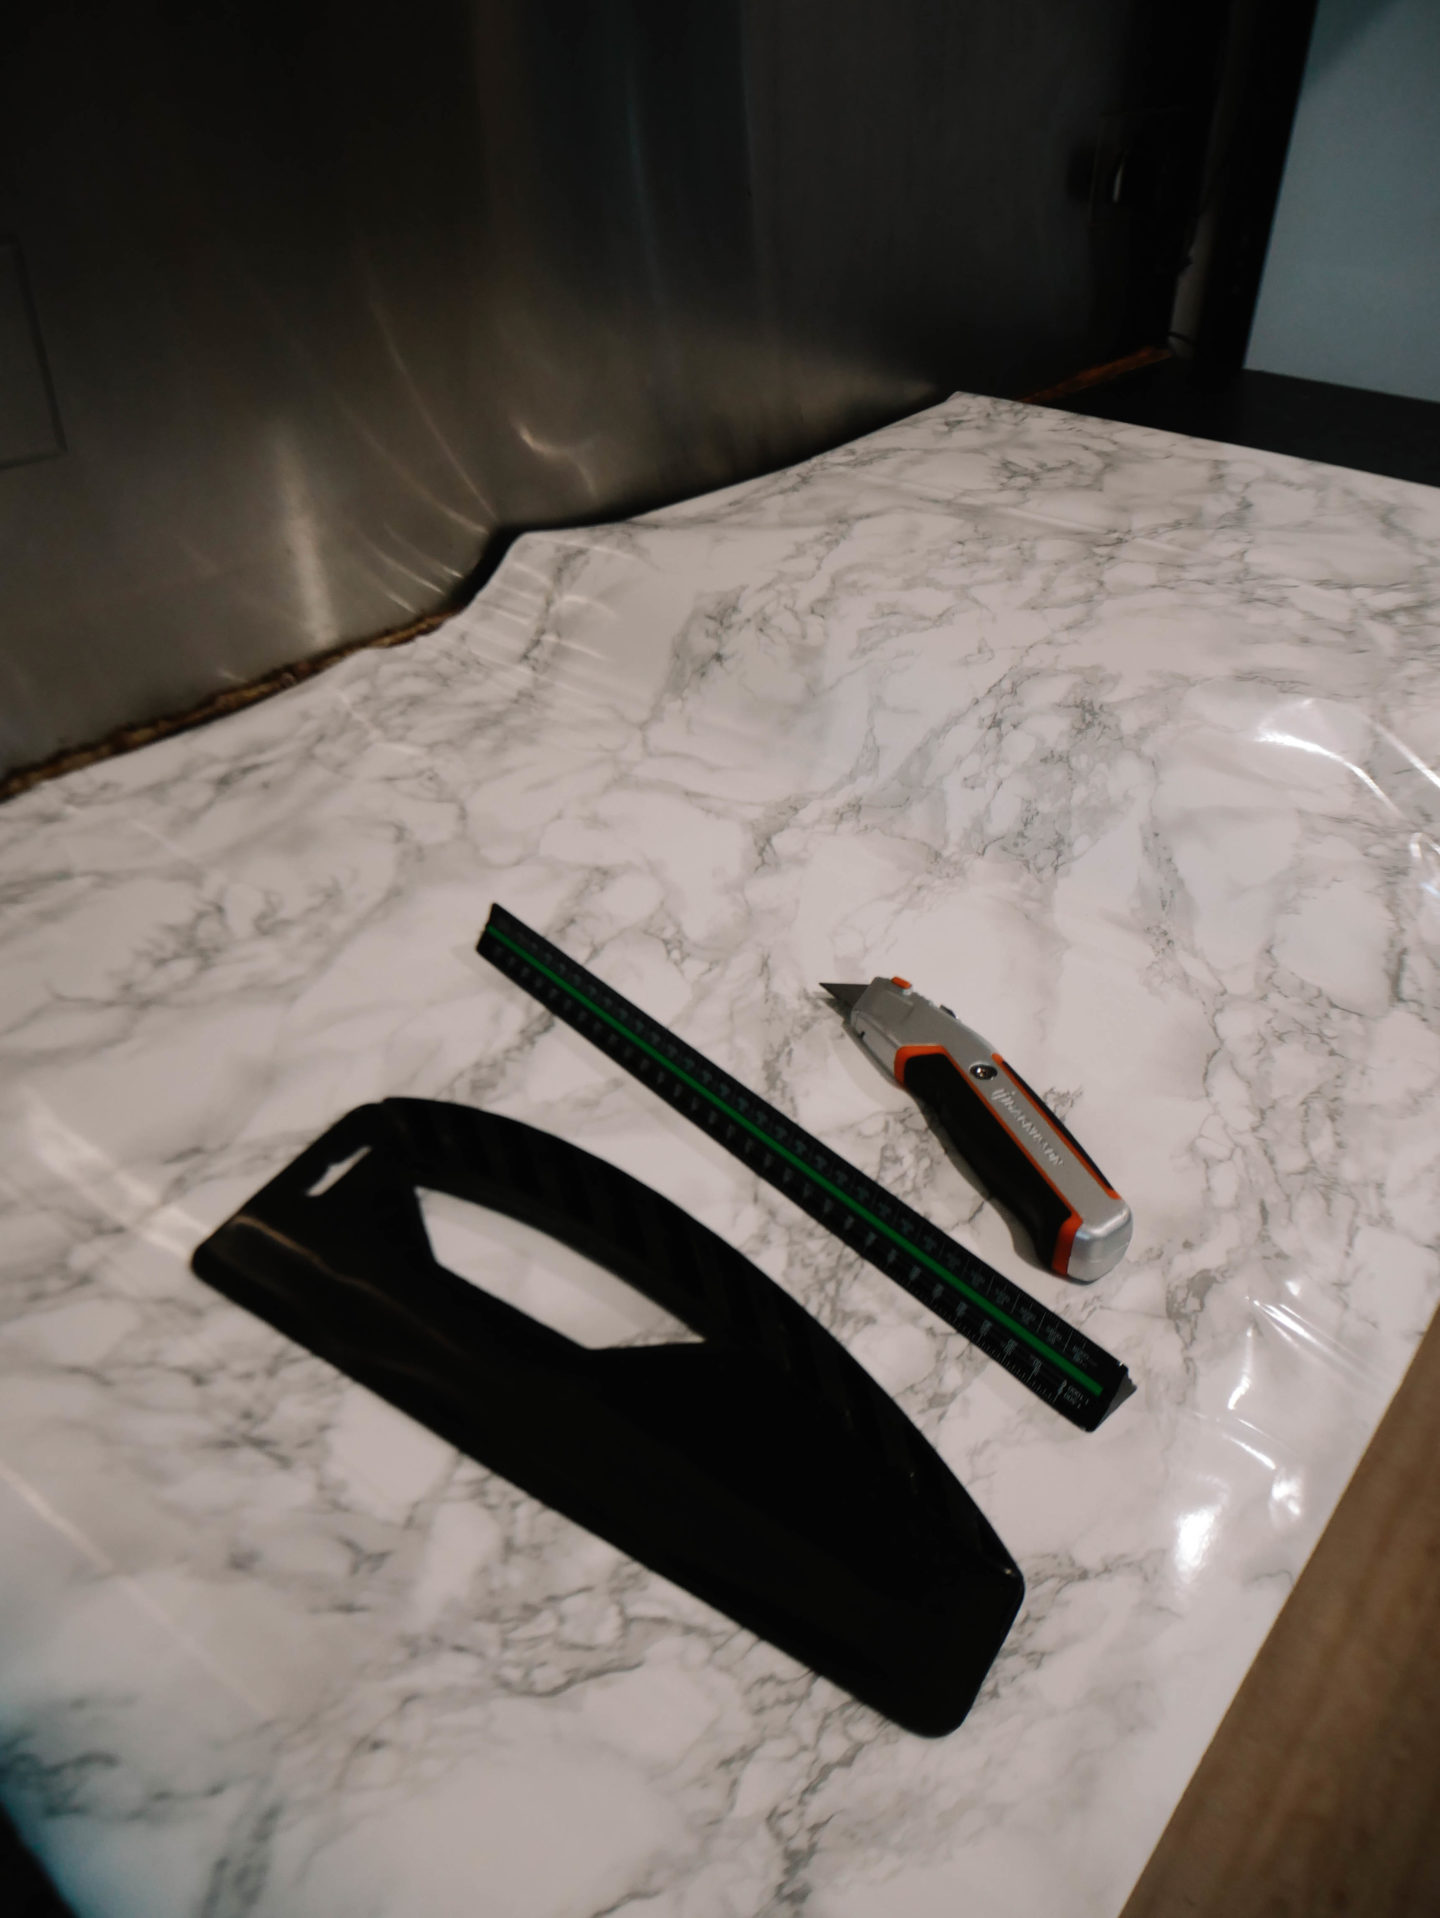
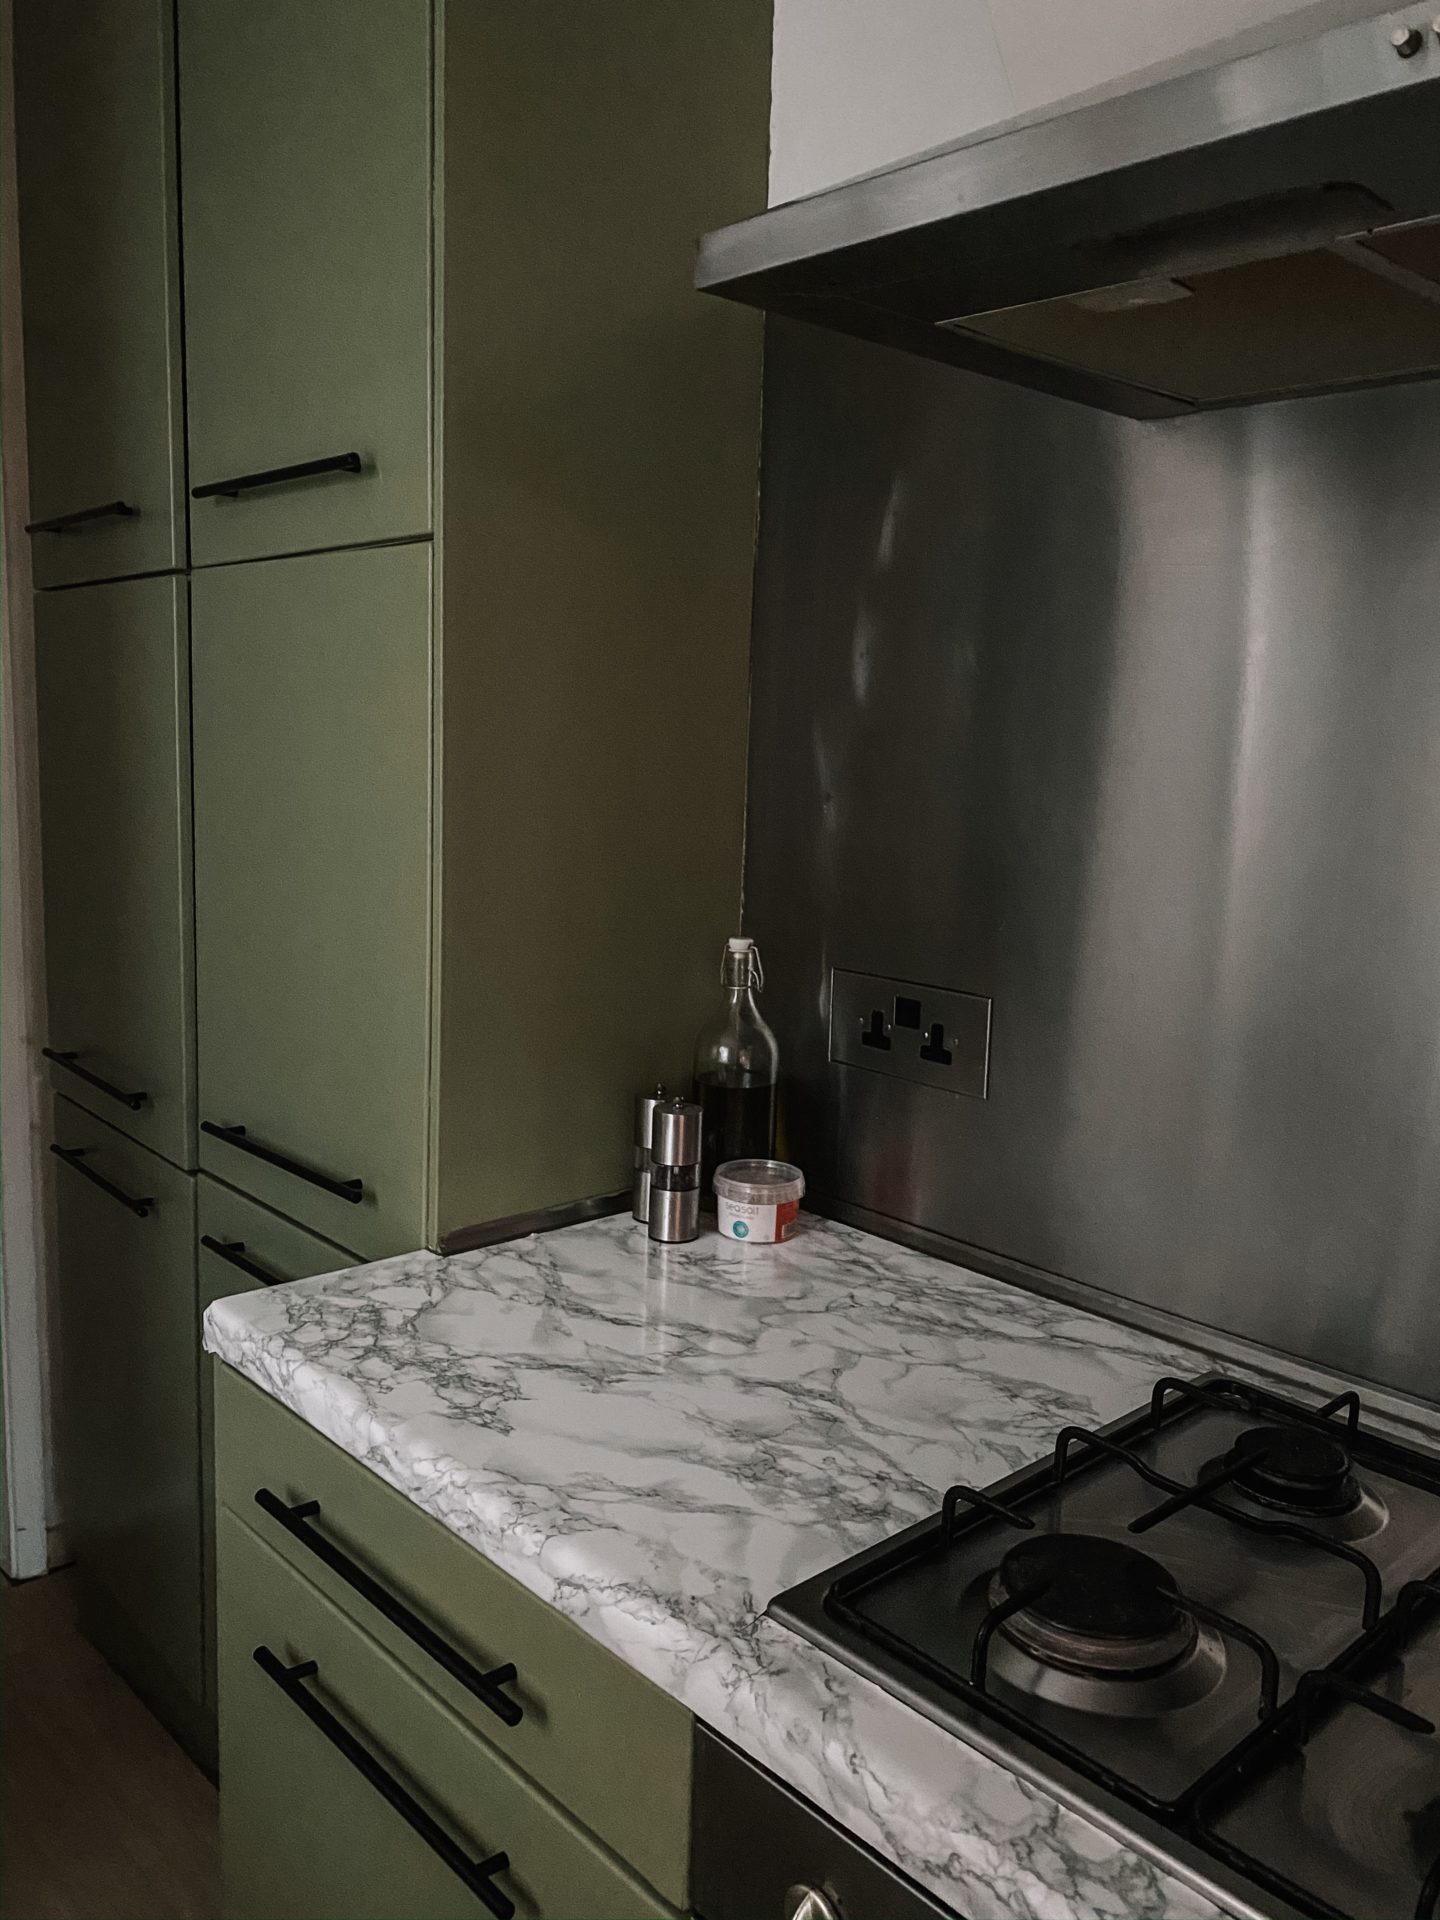
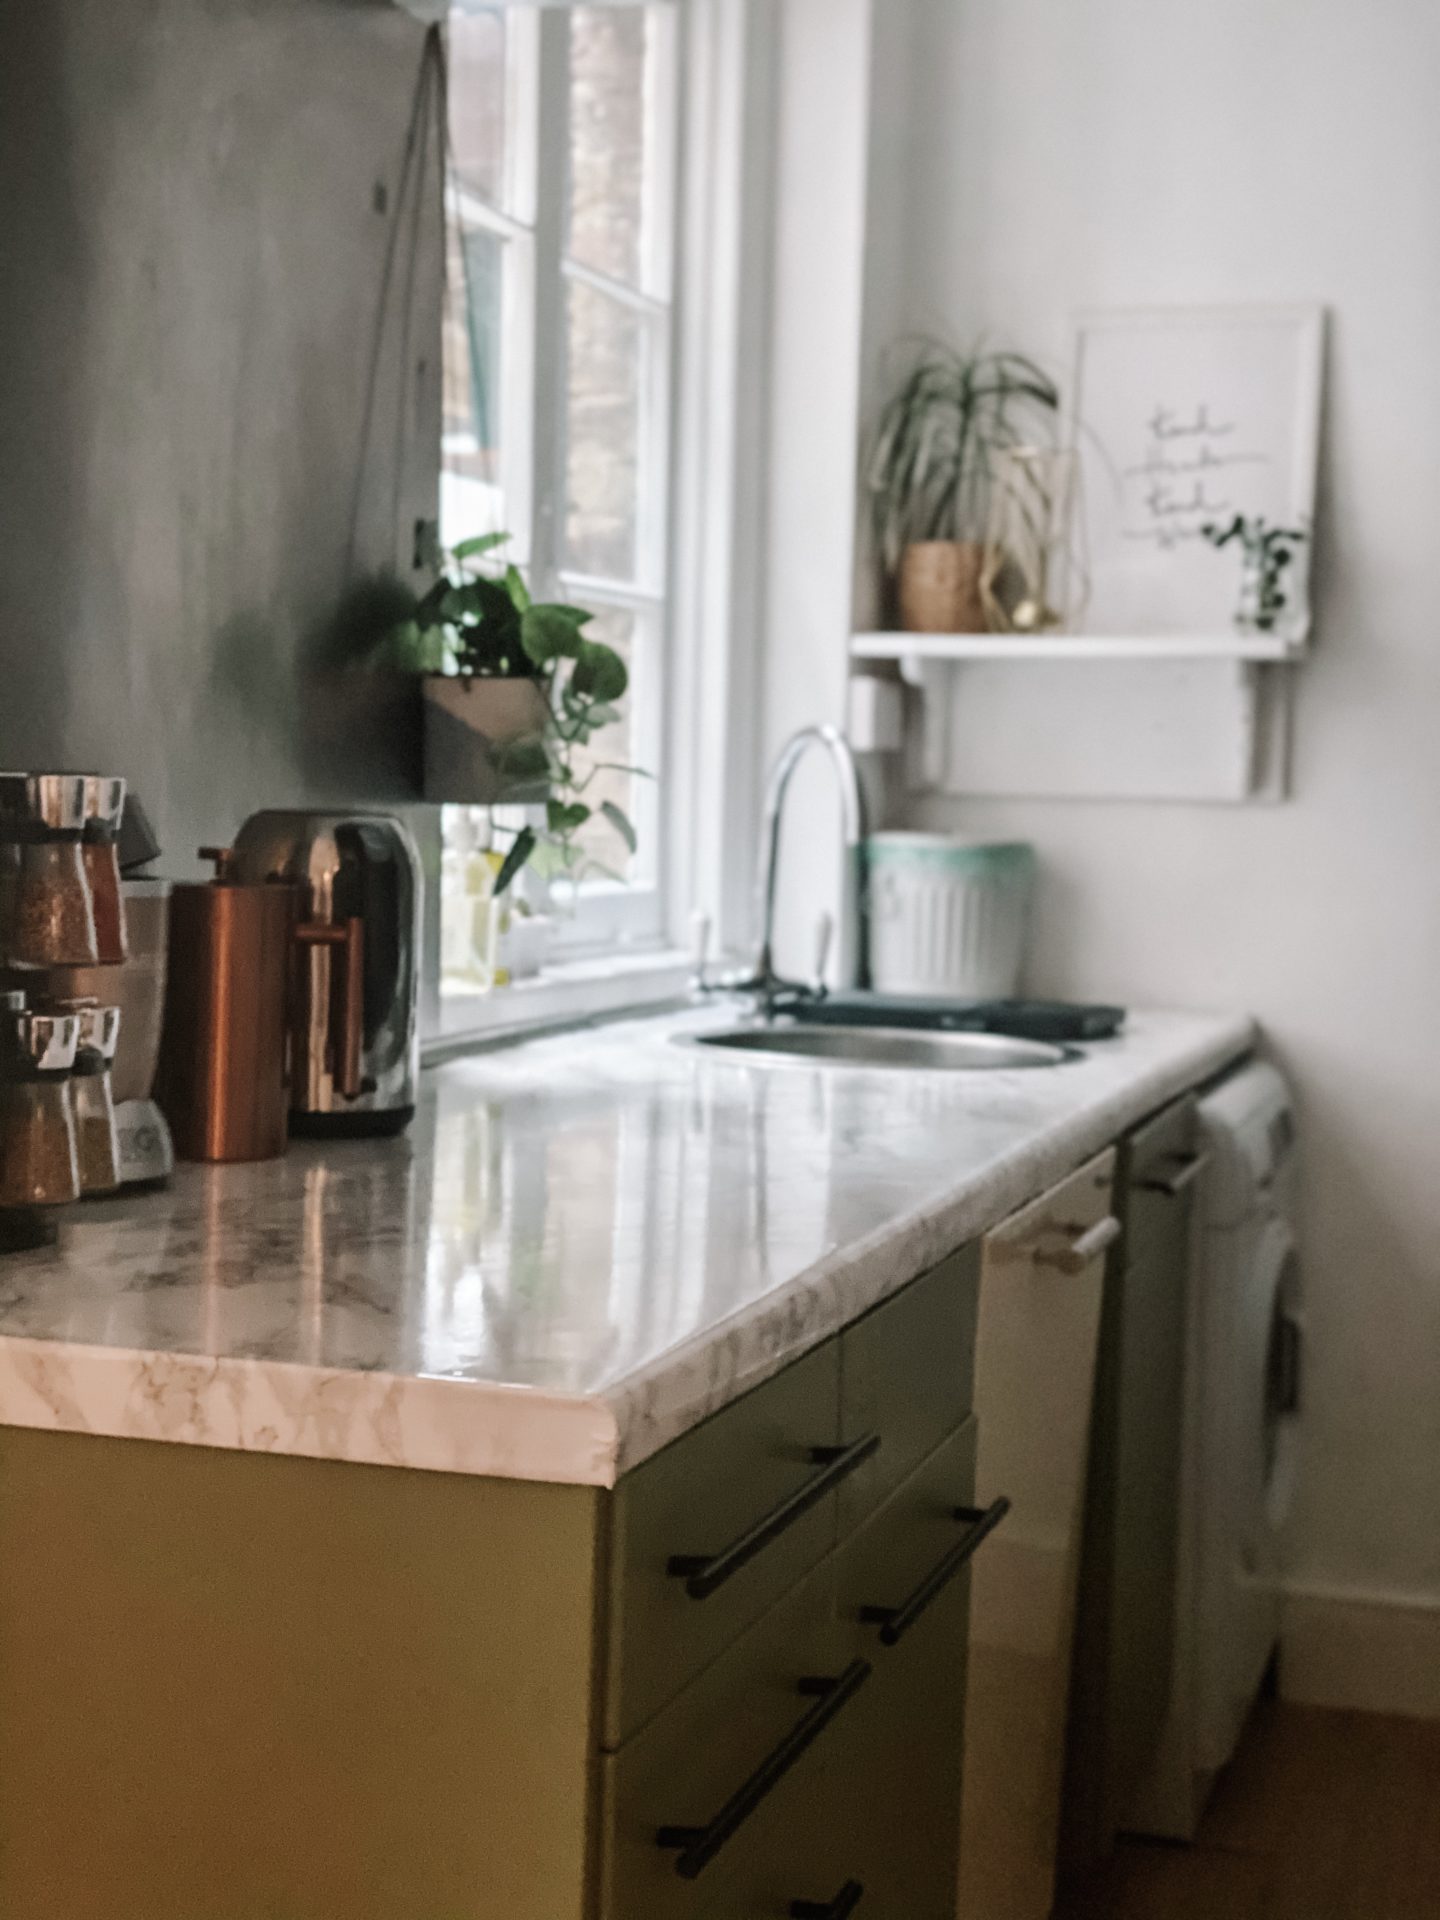
This is hands down the most difficult part of the job, and will be easier with two pairs of hands. It is worth the bickering and blaming each other for the end result I promise. Before you stick any vinyl down, make sure your surfaces are completely clean and dry. Then lay out the vinyl (with the protective film still on the back) and measure it out flat on the surface. Always add a buffer and have an inch or two going up the backsplash or over the edge of the worktop. Peel the film off from underneath and cut clean the excess with the utility knife.
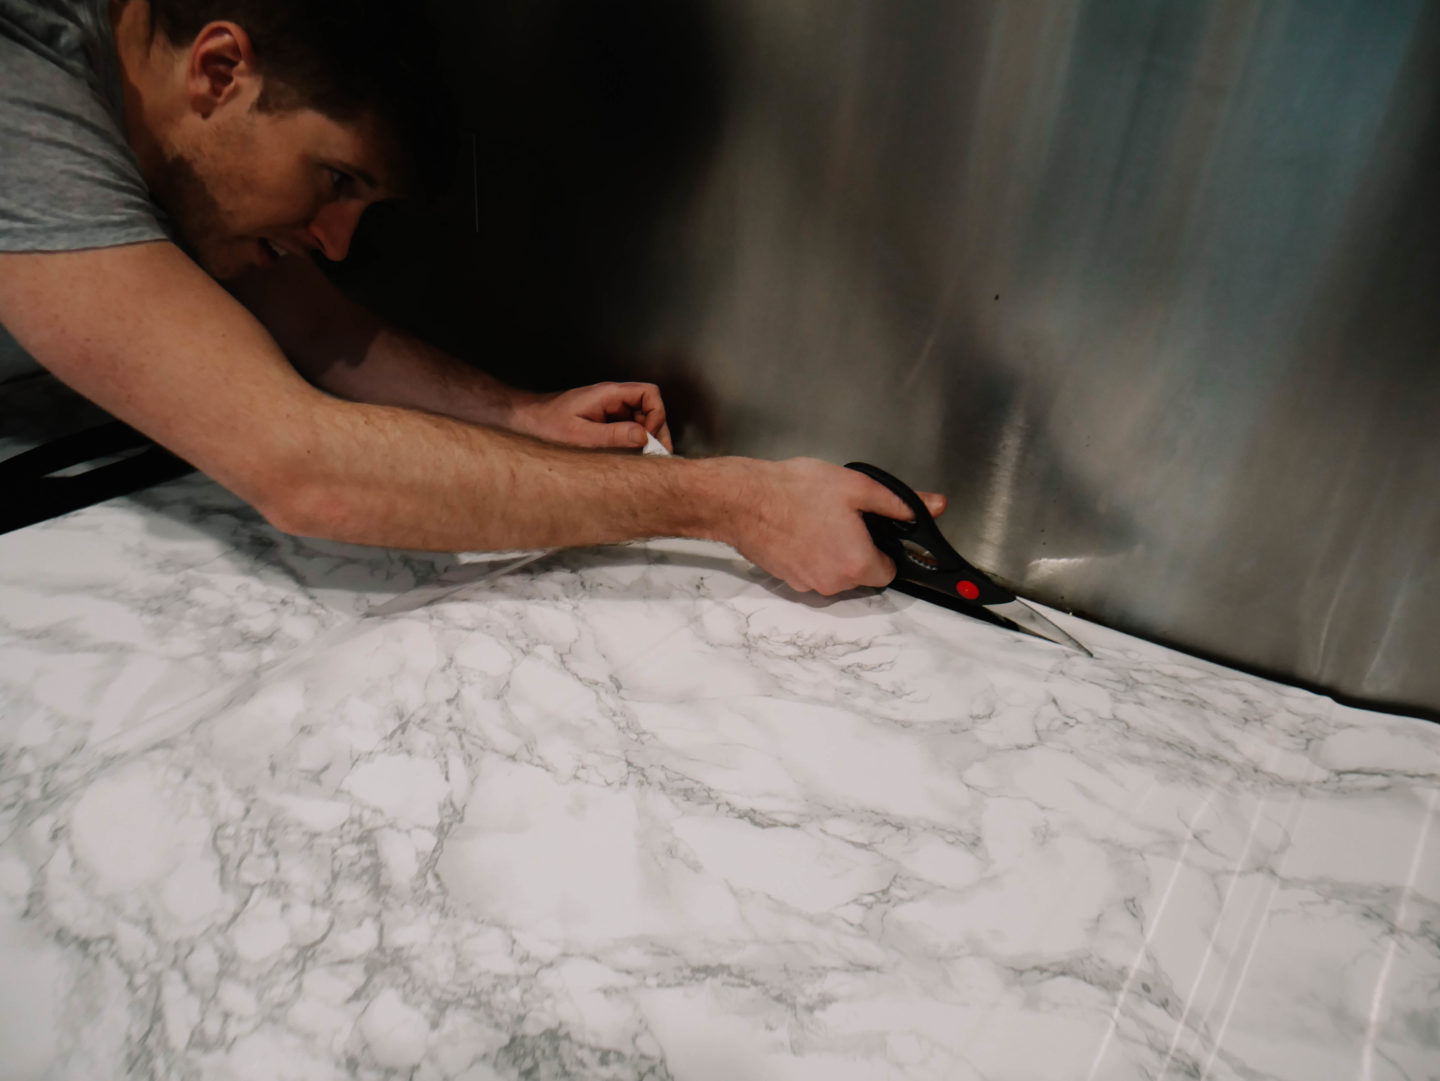

It is so important to get it right at the start, if there’s a millimetre of unevenness against the edging it’ll be very obvious three foot in.
Once the edging is properly lined peel back the film and stick down the first inch. Take your wallpaper smoother and make sure the first few inches are smoothed out, no bubbles and the line is perfectly straight. It is much easier as a two person job, one to pull back the film and stick down and the other to smooth out with the wallpaper smoother. Once the first few inches are down and going in a straight line it is very straightforward. This is not a job to rush.

The next obstacle is cutting around the cooker and the sink. We found the easiest way to do this was peel off the film and cut out a rough hole in the middle. You can then work with sticking down the edges with a little excess. Then take the utility knife and cut off any excess.
If it is your first time it really is trial and error. We had two separate worktops to cover and the second was an absolute breeze compared to the first. It would be wise to have spare vinyl incase it truly is a disaster first time round.

The next challenge is finishing the corners or edging of your worktop. Ensure you have sufficient excess vinyl to overhang the worktop and cover the vertical edge. The vinyl didn’t seem to stick on the underside of the worktop, so we had to cut a clean line on the front surface, which was possibly the trickiest element to get a good finish. As you can see in the picture above we struggled to get a neat and clean edge on the corners. Something we won’t lose sleep over in a temporary kitchen, however it’s on the to do list to re adjust this section of worktop with the leftover stick on worktop we have.
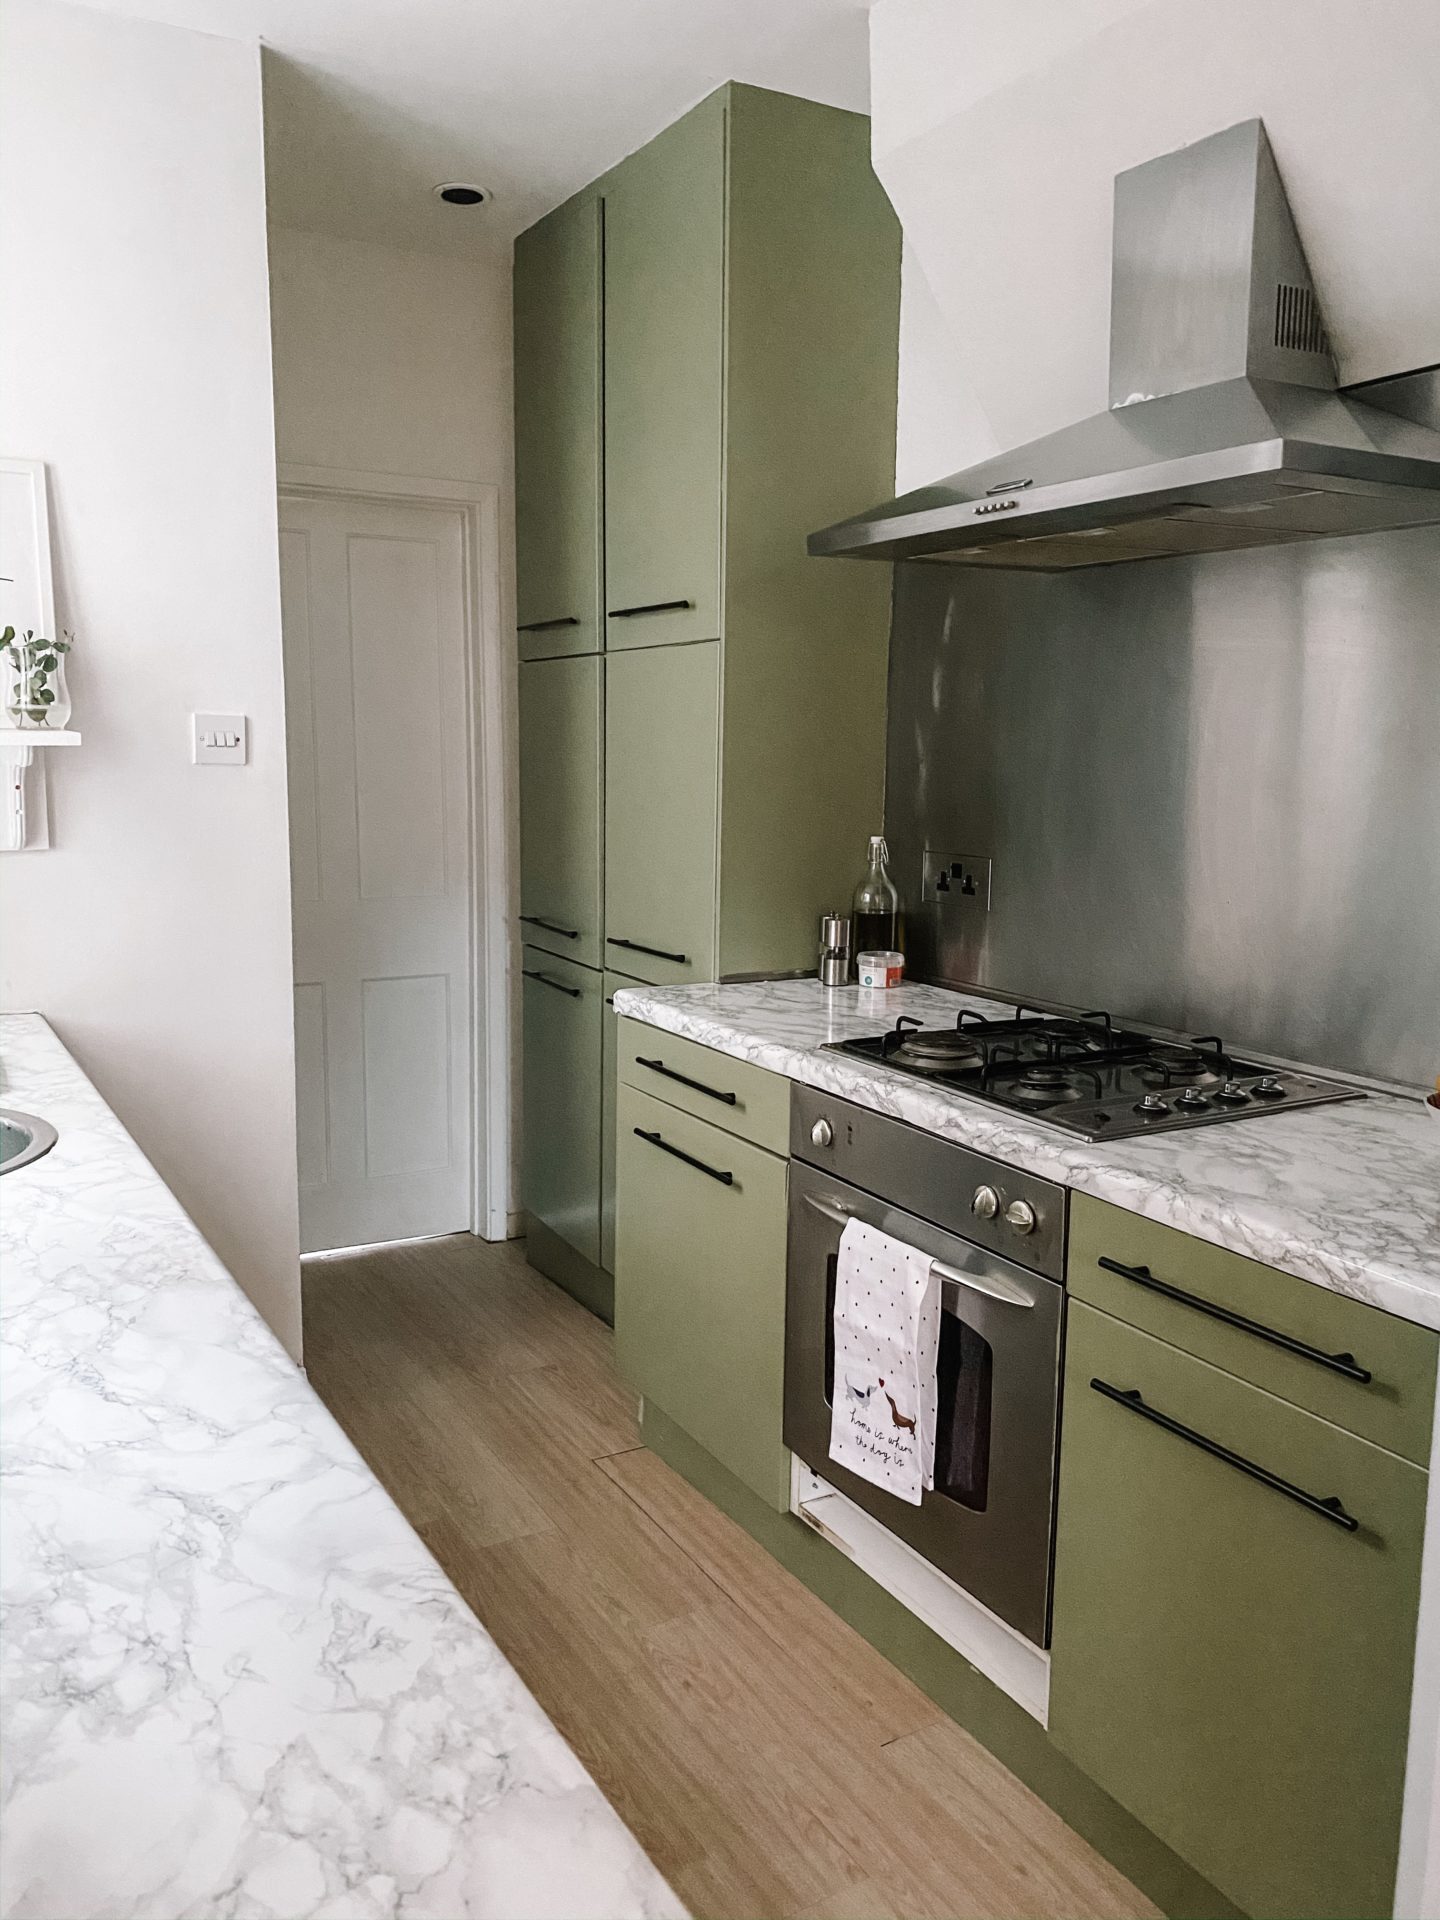
The End Result:
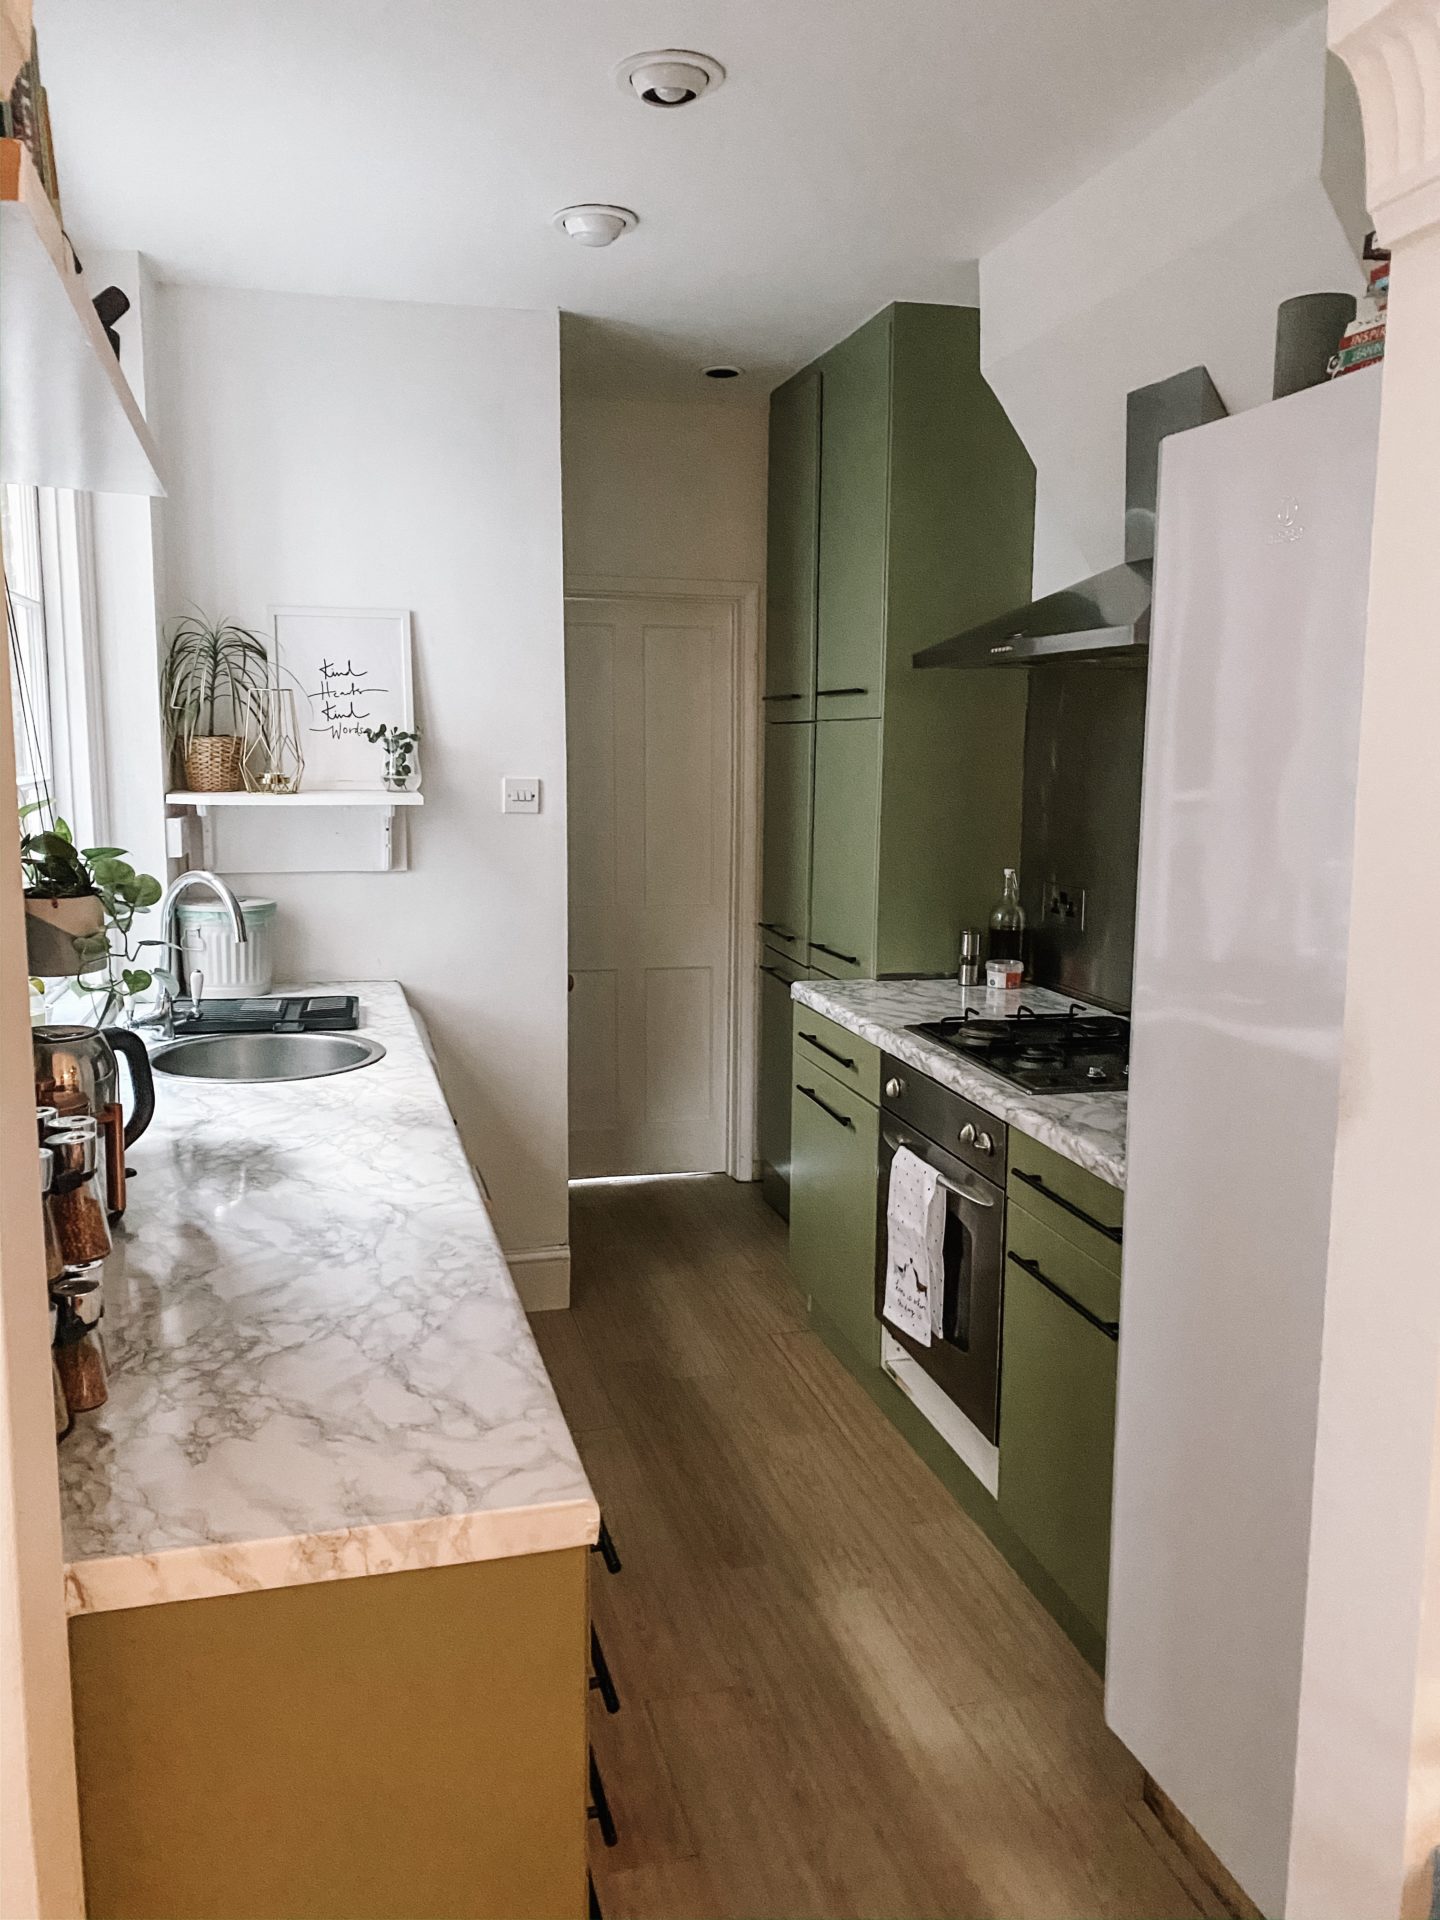
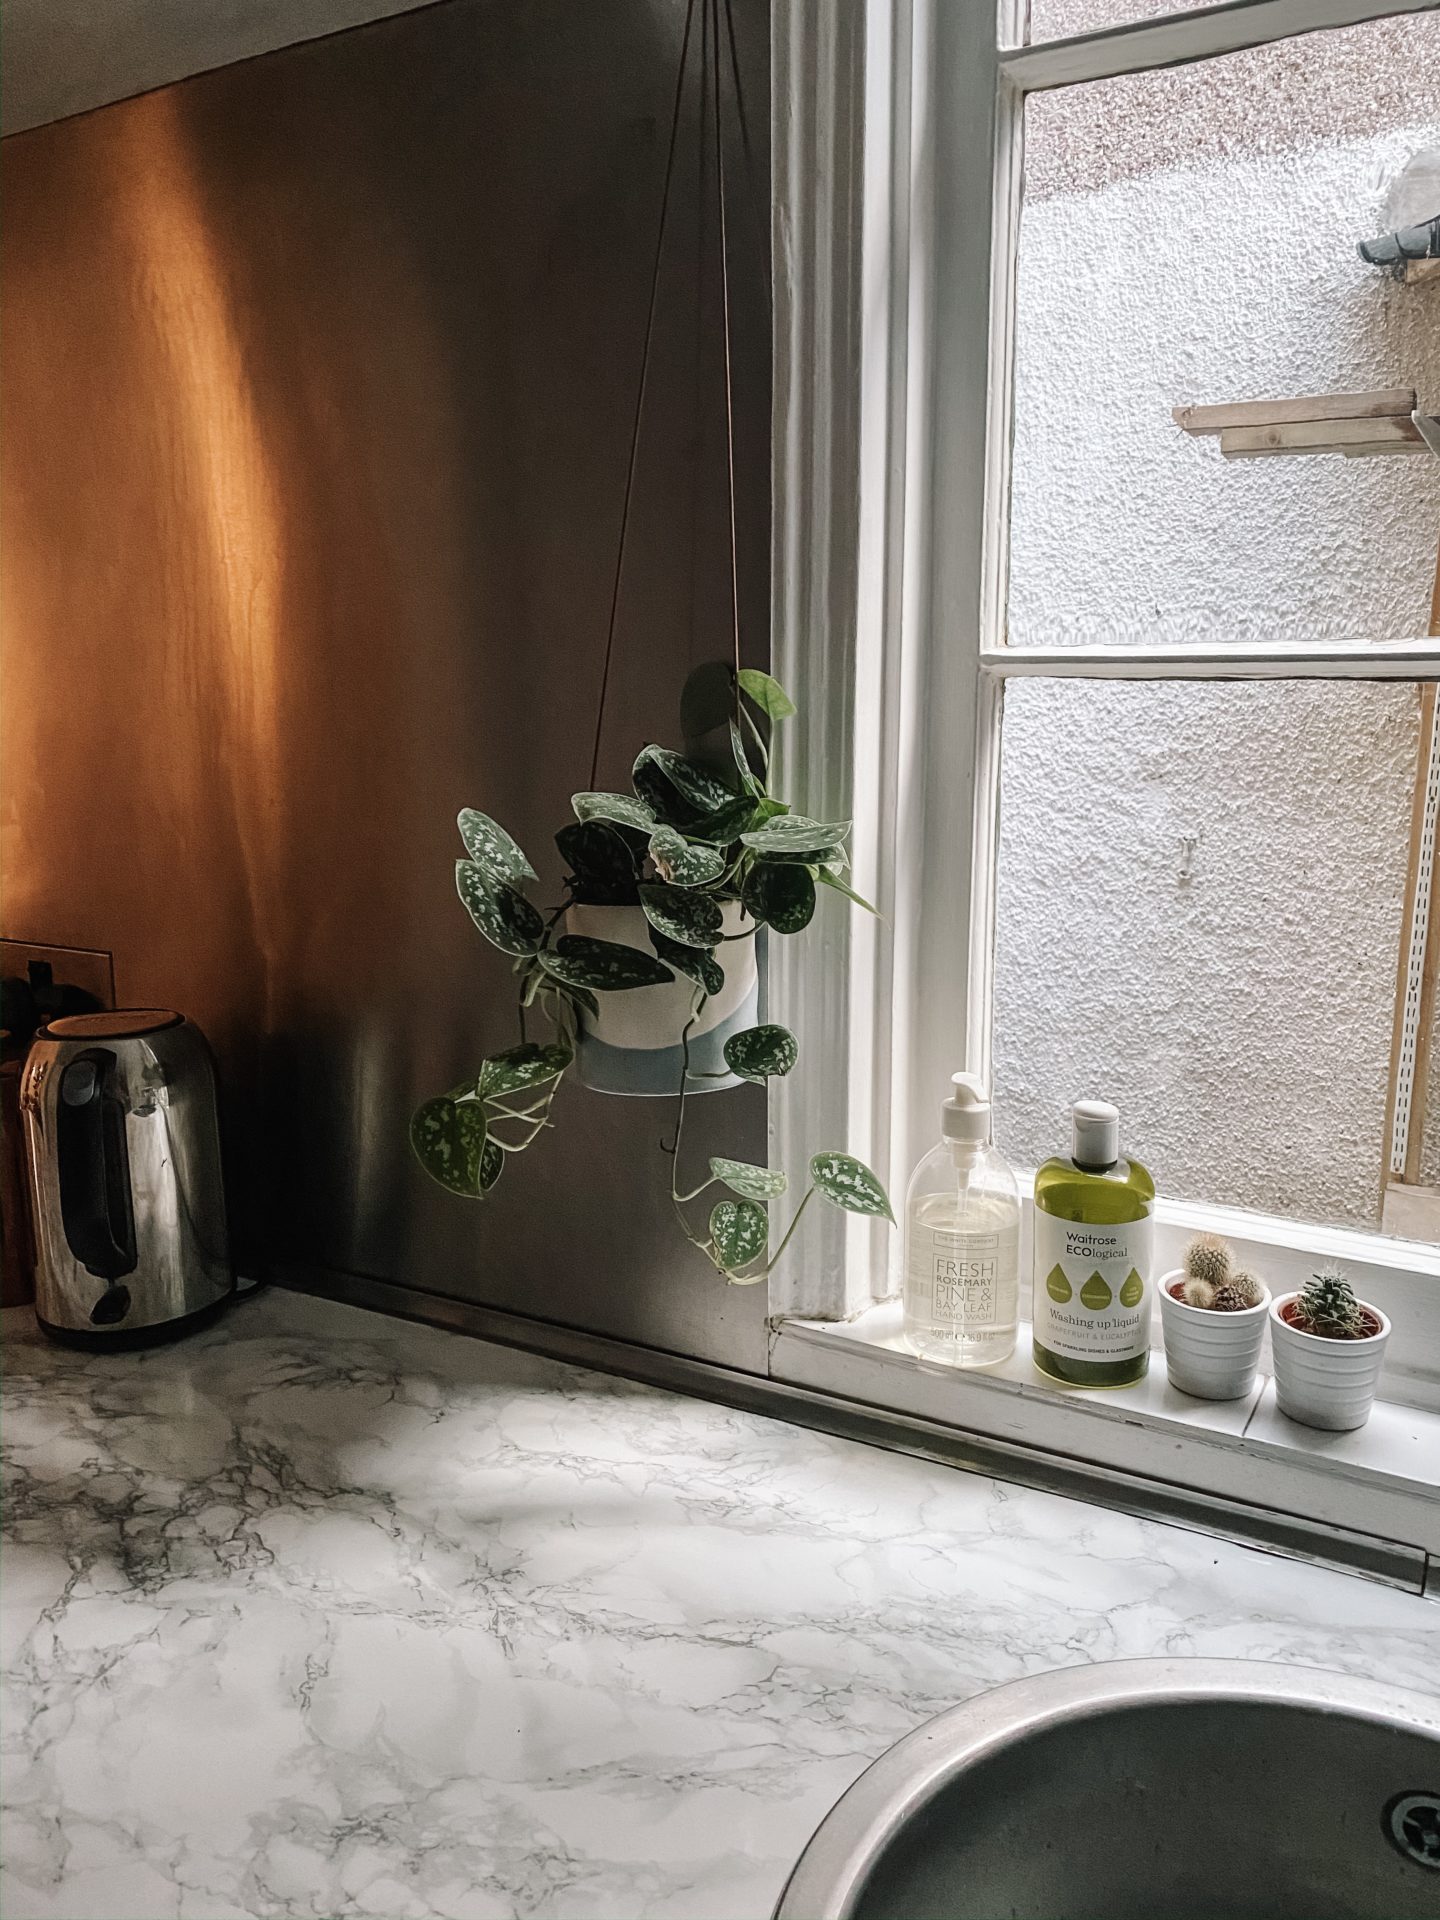
We are so thrilled with the end result! The kitchen is lighter, brighter and a much more enjoyable space to be in. Whilst it still very much feels like a temporary solution before we can create our dream kitchen, we love the outcome we’ve achieved. This little glow-up project is perfect for kitchens in desperate need of some cheap and easy TLC, and also perfect for renters who may need to lift floor / worktop once they move out of a place.

Things to remember:
- The worktop is removable and re stackable but you don’t really have more than a couple of attempts before it starts to lose its stick.
- Always smooth the bubbles out before continuing.
- Be careful cutting the edges of the worktop with the blade – it will score the permanent worktop underneath if you cut with too much pressure.
- Be certain the floor and work surfaces are fully dry before sticking down any material. It won’t stick at all if any wetness or grease is on the surface.
- Find out where your kitchen cabinets originated from and see if the supplier sells handles before shopping around. We didn’t realise our kitchen was an Ikea kitchen until we took the cupboard doors apart. If we’d known we’d have ordered handles from Ikea with the exact same measurements. It would have saved a lot of time polyfiling and sanding old holes and drilling new holes for the shorter handles.
Products Used:
Stick on imitation wood flooring:
The items we used here.
Also check out the herringbone / chevron option here that wasn’t available in our local B&Q.
Sticky back worktop
The product we used here.
Another option here by Jes Rose. Her vinyls are a little pricier however the quality looks ever so slightly better and there are way more options.
Primer
Wood and Metal Eggshell Paint
Cupboard Handles
Pin Me For Later!

It’s made the space look SO much brighter! Cracking job with making such a huge difference with a set budget.
thank you SO much! we absolutely love it. Even though it is a temporary solution I am actually so please with the finish of it.
Hello Jess
Your old kitchen is so similar to ours and I thought it would not be possible to paint our cabinets! This has given me sooo much inspo.
I was just wondering whether your cabinets are like a shiny texture and if so did you sand them a bit before priming the wood? Also what roller head did you use? Really want to redo our kitchen but I don’t want to get it wrong aha
Thank you
Emily xx
Hey!! love it. Yes we sanded them a bit but to be honest we couldve given them a much more thorough sand for a better result but we know we are changing this very soon so we only need the paint to stick around for a few months.
Our cabinets were lacquered underneath so definitely give your cabinets a thorough sand a few days before and then make sure all dust is cleaned up before beginning the primer. Primer was absolutely essential and then two coats of the eggshell wood and metal paint.
We just used a standard roller form B&Q nothing special. Same as what we’d use to paint on the walls.
Thank you for replying. I started out redorating this weekend and it’s all going well! Thanks for all your help 🙂 xx
What did you stick the vinyl tiles to? Did you lift the old floor and then lay 5mm boards down?
Author
we stuck them straight on the tiled floor below
I love the look of your kitchen! The green makes your kitchen really stand out and look totally new! I’ve been trying to find the right colors so I can refinish my kitchen cabinets myself. I’m super excited, but nervous to do a DIY kitchen cabinet remodel. Your walk-through has inspired me to finally get a move on. Thanks for sharing!
Author
aah thanks so much! hope the kitchen revamp went well